 Rosa Martinez
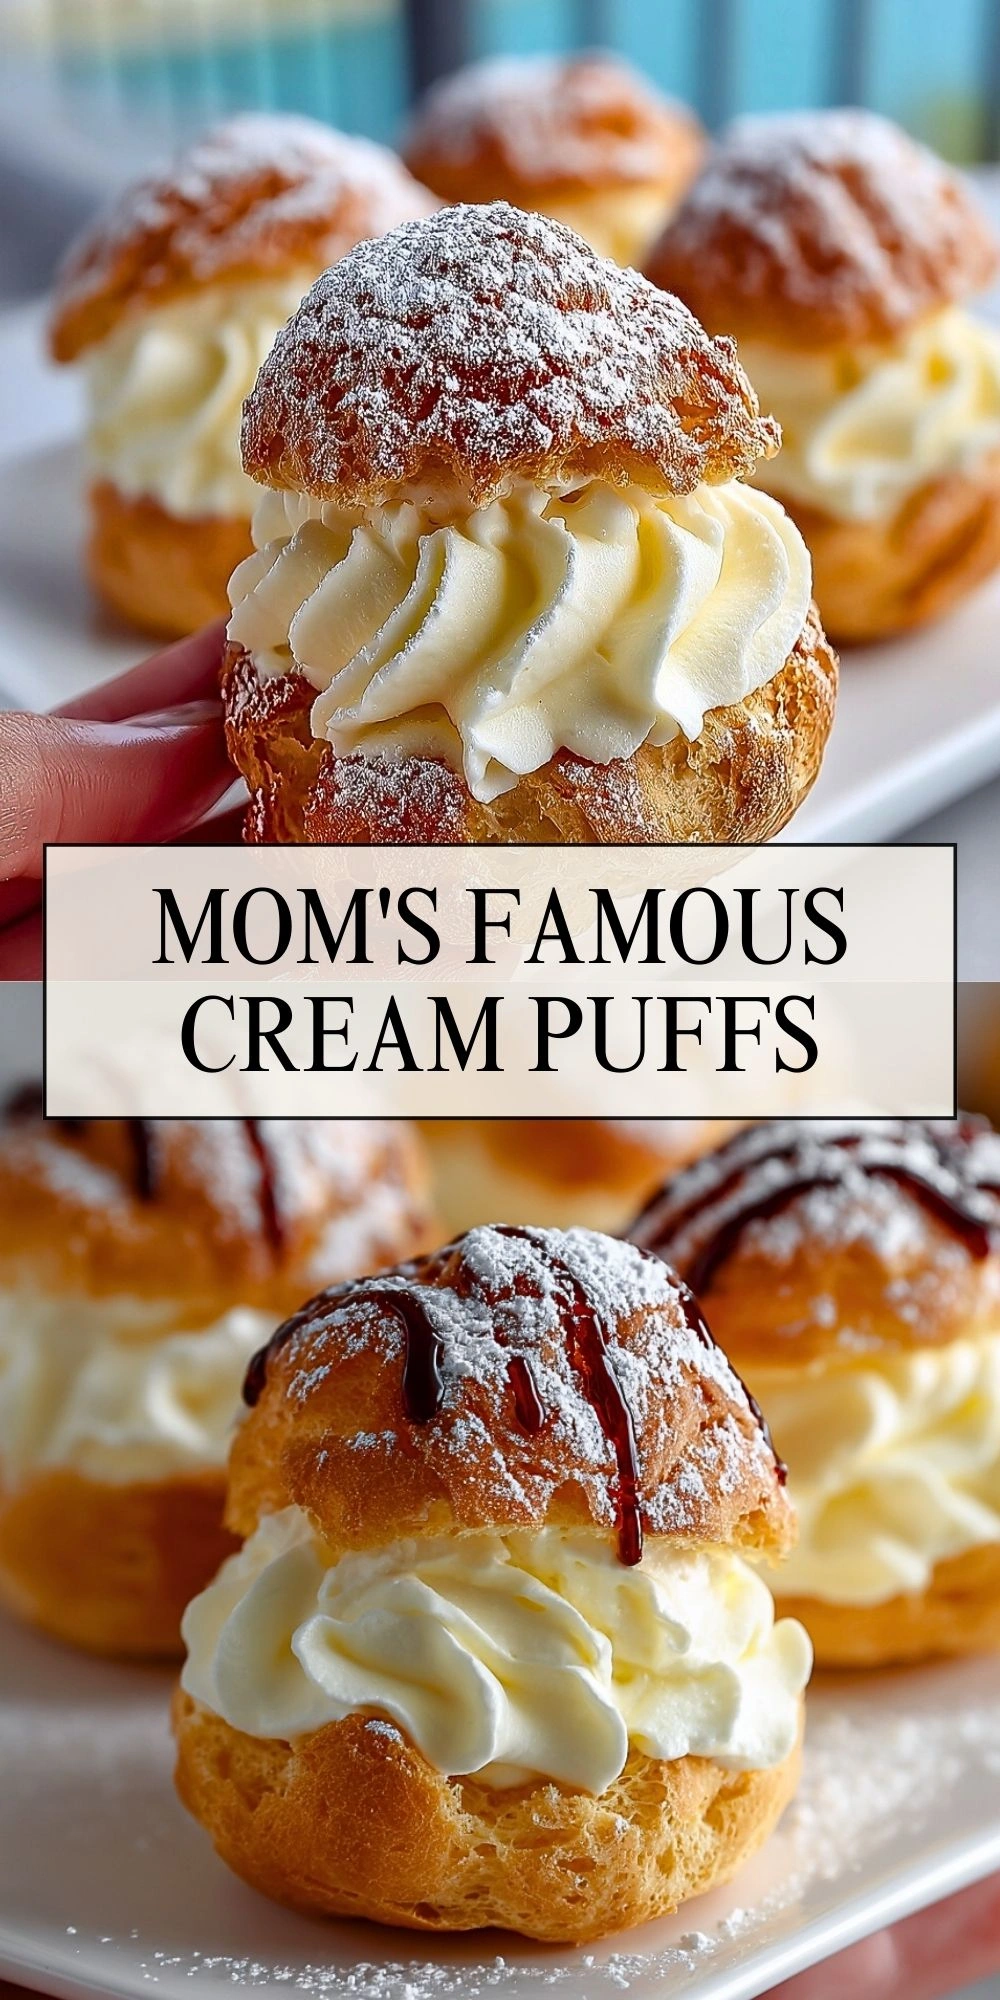
Cream puffs are one of those desserts that always, always steal the show on my family table. Crisp, golden shells that shatter just a little when you bite in, giving way to clouds of cool vanilla cream—these are the cream puffs my mom made for every birthday, holiday, and “just because” celebration.

When I finally learned how to make them myself, I realized they weren’t nearly as intimidating as they look. A simple stovetop dough, a quick bake, and a fluffy whipped filling come together to make something that feels straight out of a bakery window. Today I’m sharing Mom’s Famous Cream Puffs exactly the way she taught me, with all my tips so yours bake up perfectly every time.
Why You’ll Love These Mom’s Famous Cream Puffs
I love these cream puffs because they’re impressive without being fussy. The batter comes together in one saucepan, and the oven does most of the work for you. No special equipment beyond a saucepan, a spoon, and either a piping bag or a couple of spoons.
The contrast of textures is what makes them irresistible: crisp, hollow choux pastry on the outside and silky whipped cream on the inside. They look elegant on a dessert tray, but they’re light enough that you never feel weighed down. Plus, you can make the shells ahead of time and fill them right before serving, which is perfect for entertaining.
What Makes These Cream Puffs So Light and Airy?
The secret to that classic airy cream puff is steam. The dough (called choux pastry) starts on the stovetop where flour is cooked with water and butter. When eggs are beaten in, you get a glossy, pipeable batter. In the oven, the high heat turns the moisture in the dough into steam, puffing the shells into hollow little balloons.
Letting the dough cool slightly before adding the eggs, baking at a consistent temperature, and giving the shells a few extra minutes in the oven to dry out are all key steps. I’ll walk you through each one so your puffs won’t collapse.
Ingredients for the Mom’s Famous Cream Puffs
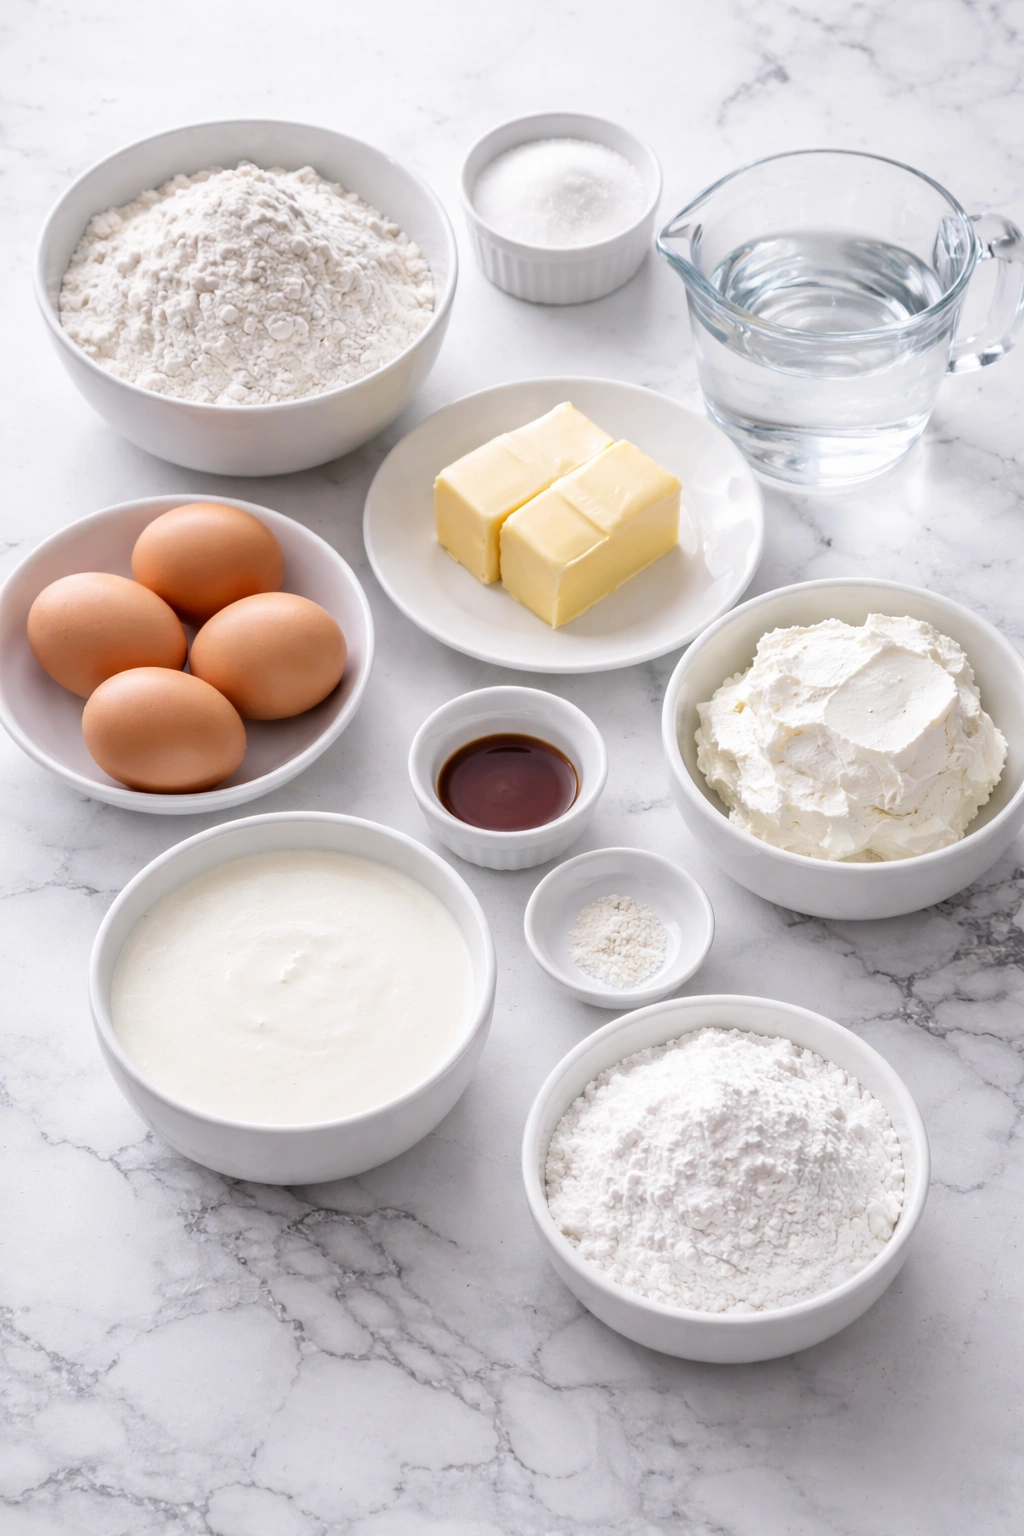
Before we jump into the method, I like to walk through the ingredients so you know exactly why each one matters. Even though the recipe is simple, every ingredient has a job to do.
For the choux pastry shells
- Water – Provides the moisture that turns into steam in the oven, helping the dough puff up and form that signature hollow center.
- Unsalted butter – Adds richness and flavor while helping the dough come together smoothly on the stovetop.
- Salt – Balances the sweetness of the filling and brings out the buttery flavor of the pastry.
- Granulated sugar – Just a touch for flavor and color; it helps the shells bake to a beautiful golden brown.
- All-purpose flour – The structure of the cream puffs. When mixed into the hot liquid, it forms a paste that traps steam as the puffs bake.
- Large eggs – The real workhorses here; eggs give the choux pastry its volume, structure, and shine. They help the puffs rise high and hold their shape.
For the vanilla cream filling
- Heavy cream – Whipped to soft peaks, this is the base of the filling and makes it light, fluffy, and decadent.
- Cream cheese – Adds body and a slight tang, helping the filling hold up longer without deflating.
- Powdered sugar – Sweetens the cream and keeps it super smooth with no graininess.
- Vanilla extract – Gives the filling that cozy bakery-style vanilla flavor.
- Pinch of salt – Just enough to balance the sweetness and make the vanilla flavor pop.
To finish
- Powdered sugar for dusting – A light snow of powdered sugar over the tops makes these cream puffs look extra special and photo-ready.
How To Make the Mom’s Famous Cream Puffs
The steps for cream puffs look long on paper, but once you do it once you’ll see how straightforward the process really is. I’ll break it down step by step so you can follow along with confidence.
Step 1 – Preheat and Prep the Pan
Start by preheating your oven to a nice, hot temperature so the puffs can rise quickly. Line a baking sheet with parchment paper or a silicone baking mat. This keeps the bottoms from over-browning and makes cleanup easy.
If you’re planning to pipe the dough, fit a piping bag with a large round or star tip and set it aside. Otherwise, two spoons will work just fine to scoop the mounds of dough.
Step 2 – Cook the Choux Dough on the Stove
In a medium saucepan, combine the water, butter, sugar, and salt. Set it over medium heat and bring it just to a boil, stirring occasionally so the butter melts evenly.
Once the mixture is bubbling, add the flour all at once and immediately stir with a wooden spoon or sturdy spatula. The mixture will thicken quickly and pull away from the sides of the pan, forming a smooth ball of dough. Keep cooking and stirring for another 1–2 minutes to dry the dough slightly—this step is important for helping the puffs rise.
Step 3 – Cool the Dough Slightly and Beat in the Eggs
Transfer the hot dough to a mixing bowl and let it cool for about 5 minutes. You want it warm but not so hot that it scrambles the eggs.
Add the eggs one at a time, beating well after each addition. At first, the dough may look curdled or separated, but keep mixing and it will come together into a smooth, glossy batter that slowly falls from the spoon in thick ribbons. This silky texture is your sign that the choux is ready.
Step 4 – Shape the Cream Puffs
Spoon the dough into your prepared piping bag or use two spoons to drop mounds onto the baking sheet. Aim for golf-ball-sized rounds, spacing them a couple of inches apart to give them room to puff.
If the tops look pointy, lightly dampen your fingertip with water and gently press down the peaks. This helps the puffs bake up evenly without burning on the tips.
Step 5 – Bake Until Puffy, Then Dry Them Out
Slide the tray into the hot oven and bake until the puffs are well risen and deeply golden. Try not to open the oven during the first 15–20 minutes, because the sudden drop in temperature can cause them to collapse.
Once they’ve puffed up and look nicely browned, reduce the oven temperature slightly and continue baking for a few minutes more to let the centers dry out. This keeps the puffs crisp on the outside and prevents soggy shells later.
When they’re done, turn off the oven, open the door slightly, and let the puffs sit for a few minutes. Then transfer them to a wire rack to cool completely.
Step 6 – Make the Vanilla Cream Filling
While the shells cool, prepare the filling. In a mixing bowl, beat the softened cream cheese until smooth. Add the powdered sugar, vanilla, and a pinch of salt, and beat until creamy and lump-free.
In a separate bowl, whip the heavy cream to medium-soft peaks. Gently fold the whipped cream into the cream cheese mixture until the filling is light, fluffy, and fully combined. It should hold its shape but still feel soft and silky.
Step 7 – Fill the Puffs
Once the pastry shells are completely cool, use a sharp serrated knife to slice them in half horizontally. You can also poke a small hole in the side and pipe the filling inside if you prefer a closed puff.
Pipe or spoon a generous swirl of the vanilla cream into the bottom half of each puff, then place the top back on. Don’t be shy—Mom always said cream puffs should look like they’re bursting with filling.
Step 8 – Dust and Serve
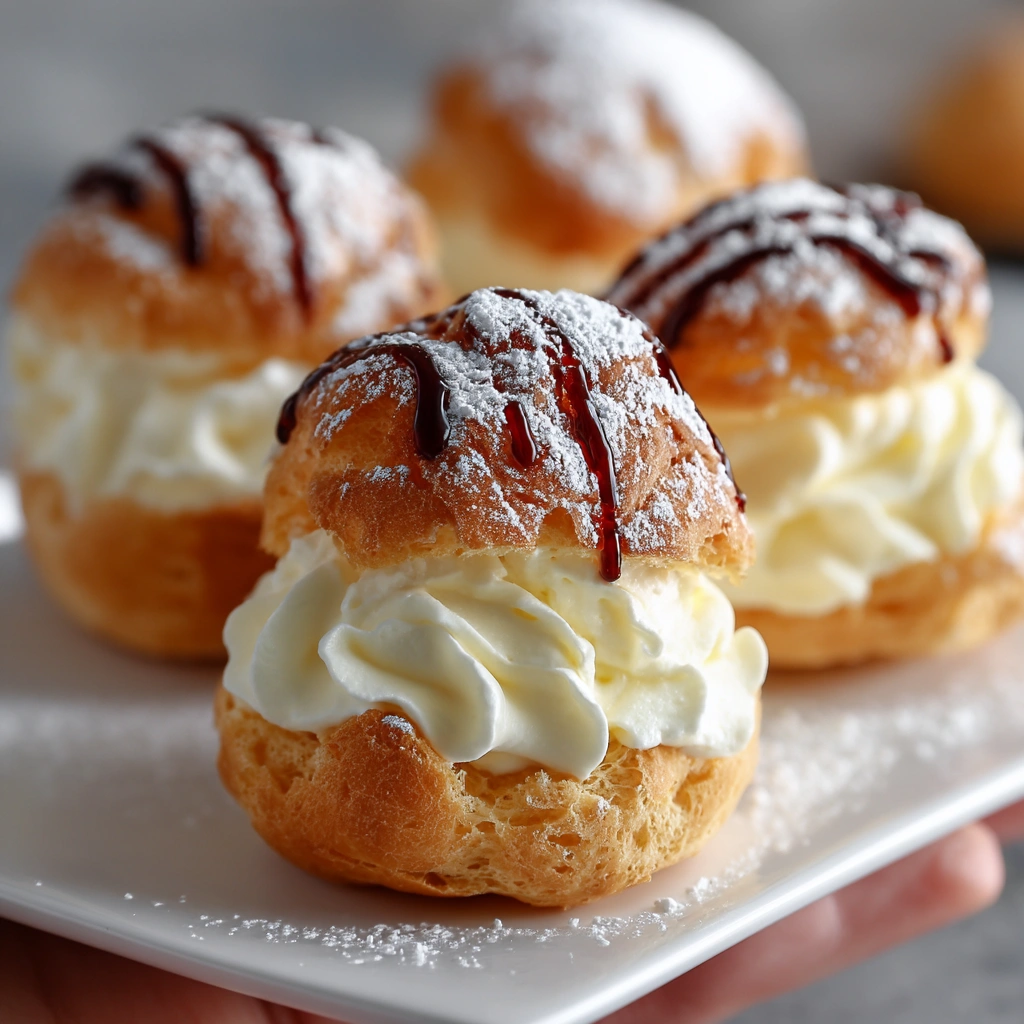
Just before serving, dust the tops lightly with powdered sugar. The contrast of the golden shells and the snowy sugar is so beautiful, especially if you’re serving these on a platter for guests.
At this point, the cream puffs are ready to enjoy—crispy, creamy, and completely irresistible.
Serving and Storing Mom’s Famous Cream Puffs
This batch makes about 12 medium cream puffs, which will comfortably serve 6–8 people, depending on how dessert-hungry everyone is. At my house, the rule is one to start and one “for the road,” so I usually expect most adults to eat two.
Cream puffs are best enjoyed the day they’re filled, when the shells are still crisp and the cream is ultra fresh. If you’re serving them at a party, you can bake the shells in the morning (or even a day ahead) and fill them an hour or two before guests arrive.
To store leftover filled cream puffs, place them in a single layer in an airtight container and refrigerate for up to 2 days. The shells will soften slightly, but they’re still delicious—almost like little cream-filled cakes.
If you want to work ahead, you can bake the empty shells, cool them completely, and freeze them in an airtight bag for up to 1 month. When you’re ready to serve, thaw at room temperature and crisp them in a low oven for a few minutes before filling.
What to Serve With Mom’s Famous Cream Puffs
These cream puffs are lovely on their own, but pairing them with the right sides and drinks can turn them into a truly memorable dessert spread. Here are some of my favorite ideas:
- Fresh berries or sliced fruit – Strawberries, raspberries, or sliced peaches look beautiful alongside cream puffs and add a bright, juicy contrast to the rich filling.
- Hot coffee or espresso – The slight bitterness of coffee balances the sweetness of the cream puffs perfectly. They also pair wonderfully with a cozy latte.
- A drizzle of chocolate or caramel sauce – For an extra-indulgent touch, serve the cream puffs with warm chocolate sauce or caramel on the side for dipping or drizzling.
- Another make-ahead dessert – If you’re building a dessert table, cream puffs pair beautifully with something like a chilled layered dessert or a rich cake so guests can choose their favorite.
Frequently Asked Questions
Can I make the cream puff shells ahead of time?
Yes, you can absolutely make the choux pastry shells ahead. Once they’re baked and completely cooled, store them in an airtight container at room temperature for up to 1 day, or freeze them for longer storage. When you’re ready to use them, warm the shells in a low oven to refresh their crispness before filling. If you love planning ahead for desserts, you might also enjoy prepping recipes like my chocolate cream delight dessert, which chills beautifully in the fridge.
Why did my cream puffs collapse after baking?
Usually this means the shells were either underbaked or the oven door was opened too early. Make sure the puffs are deeply golden and feel light and firm before you take them out. Letting them dry out at a slightly lower temperature at the end of baking also helps. If you’re craving more reliable baked treats, you might like trying my sturdy but tender cream cheese pound cake, which is almost impossible to mess up.
Can I use a different filling instead of whipped cream?
Definitely. You can fill these puffs with pastry cream, chocolate mousse, or even ice cream for a fun frozen dessert. The choux shells are a great base for lots of fillings. For a fruity twist, pair them with something like the flavors in my homemade raspberry and cream angel food cake by folding a little raspberry sauce into the cream.
Do cream puffs need to be refrigerated?
Because the filling is made with real dairy (heavy cream and cream cheese), filled cream puffs should be stored in the refrigerator if you’re not serving them right away. They can sit out at room temperature for about 2 hours for serving. After that, tuck any leftovers back into the fridge in an airtight container.
Can I double the recipe for a crowd?
Yes, you can double the recipe with great results. Just be sure to cook the dough in a large enough saucepan so you have room to stir it vigorously. You may also need to bake the puffs on two trays, rotating them halfway through. When I’m feeding a big group, I like to offer these cream puffs alongside another crowd-pleasing dessert such as my apple crisp cheesecake so there’s something for every sweet tooth.
Save This Pin For Later
📌 Save this recipe to your Pinterest dessert board so you can come back to it any time. Pin it next to your other special-occasion desserts so you’re always just a few steps away from bakery-style cream puffs at home.
And when you make them, I’d love to hear how they turn out. Did you stick with the classic vanilla cream, or did you add chocolate, coffee, or a fruity swirl? Maybe you dipped the tops in chocolate ganache or dusted them with cocoa powder.
I love seeing the creative twists you put on my family recipes. Questions are always welcome too—let’s help each other bake smarter and more confidently.
Conclusion
Mom’s Famous Cream Puffs may look fancy, but once you’ve made them once, they’ll become one of your go-to dessert ideas for holidays, birthdays, or any time you want to spoil the people you love. With simple pantry ingredients and a few easy techniques, you can bake cream puffs that taste like they came from a pastry shop.
Serve them freshly filled with a dusting of powdered sugar, and watch them disappear faster than you’d expect. And if you’re always on the hunt for more easy dessert recipes and everyday food ideas, come hang out with me on Pinterest at Life With Rosa for new inspiration all week long.
Print Mom’s Famous Cream Puffs
- Total Time: 55
- Yield: 12 cream puffs
Description
These Mom’s Famous Cream Puffs are the perfect easy recipe when you want a bakery-style dessert without the fuss. Light, crisp choux pastry shells are filled with a fluffy vanilla cream made from whipped cream and cream cheese, making them ideal for quick dessert ideas, special-occasion treats, or even a fancy addition to your breakfast ideas or brunch table. This is one of my favorite food ideas because it feels elegant but comes together with simple ingredients, so you can keep it in your back pocket for dinner ideas, holidays, or anytime you need a reliable crowd-pleasing sweet.
Ingredients
1 cup water
1/2 cup unsalted butter
1/4 teaspoon salt
1 teaspoon granulated sugar
1 cup all-purpose flour
4 large eggs
1 cup heavy cream
4 ounces cream cheese softened
1/2 cup powdered sugar
1 1/2 teaspoons vanilla extract
1 pinch salt
2 tablespoons powdered sugar for dusting
Instructions
1. Preheat the oven to 400°F (200°C). Line a baking sheet with parchment paper or a silicone baking mat and set aside.
2. In a medium saucepan, combine the water, unsalted butter, salt, and granulated sugar. Cook over medium heat until the mixture comes to a full boil and the butter is completely melted.
3. Remove the pan from the heat and immediately add the all-purpose flour all at once. Stir quickly with a wooden spoon until the mixture forms a smooth ball and pulls away from the sides of the pan.
4. Return the pan to low heat and cook the dough, stirring constantly, for 1 to 2 minutes to dry it out slightly. A thin film may form on the bottom of the pan.
5. Transfer the hot dough to a mixing bowl and let it cool for about 5 minutes until warm but not steaming.
6. Beat in the eggs one at a time, mixing well after each addition, until the dough is smooth, glossy, and falls from the spoon in thick ribbons.
7. Spoon the dough into a piping bag fitted with a large round or star tip, or use two spoons. Pipe or drop 12 mounds of dough onto the prepared baking sheet, spacing them a couple of inches apart.
8. Lightly dampen a fingertip with water and gently press down any pointy peaks on the dough to prevent burning.
9. Bake the cream puffs at 400°F (200°C) for 20 to 22 minutes, or until well risen and deep golden brown. Avoid opening the oven door during this time.
10. Reduce the oven temperature to 350°F (175°C) and bake for an additional 5 to 8 minutes to dry out the centers.
11. Turn off the oven, crack the door open slightly, and let the cream puffs sit for 5 minutes. Transfer them to a wire rack to cool completely.
12. While the shells cool, prepare the filling. In a mixing bowl, beat the softened cream cheese until smooth. Add the powdered sugar, vanilla extract, and pinch of salt and beat until creamy with no lumps.
13. In a separate bowl, whip the heavy cream to medium-soft peaks.
14. Gently fold the whipped cream into the cream cheese mixture until fully combined, light, and fluffy. Refrigerate the filling if you are not using it right away.
15. Once the pastry shells are completely cool, slice each puff in half horizontally with a serrated knife.
16. Pipe or spoon a generous amount of vanilla cream filling onto the bottom half of each shell, then place the top half back on.
17. Dust the filled cream puffs with powdered sugar just before serving and enjoy.
Notes
For perfect cream puffs, be sure to bake the shells until they are deeply golden and feel light and firm; underbaked puffs tend to collapse or turn soggy once filled.
- Prep Time: 25
- Cook Time: 30
- Category: Dessert
- Method: Baking
- Cuisine: American–French inspired
Nutrition
- Serving Size: 1 cream puff
- Calories: 280
- Sugar: 10
- Sodium: 160
- Fat: 21
- Saturated Fat: 13
- Unsaturated Fat: 7
- Trans Fat: 0
- Carbohydrates: 18
- Fiber: 0
- Protein: 5
- Cholesterol: 135
Keywords: cream puffs, easy dessert, choux pastry, vanilla cream, quick dessert, holiday dessert, party dessert