 Rosa Martinez
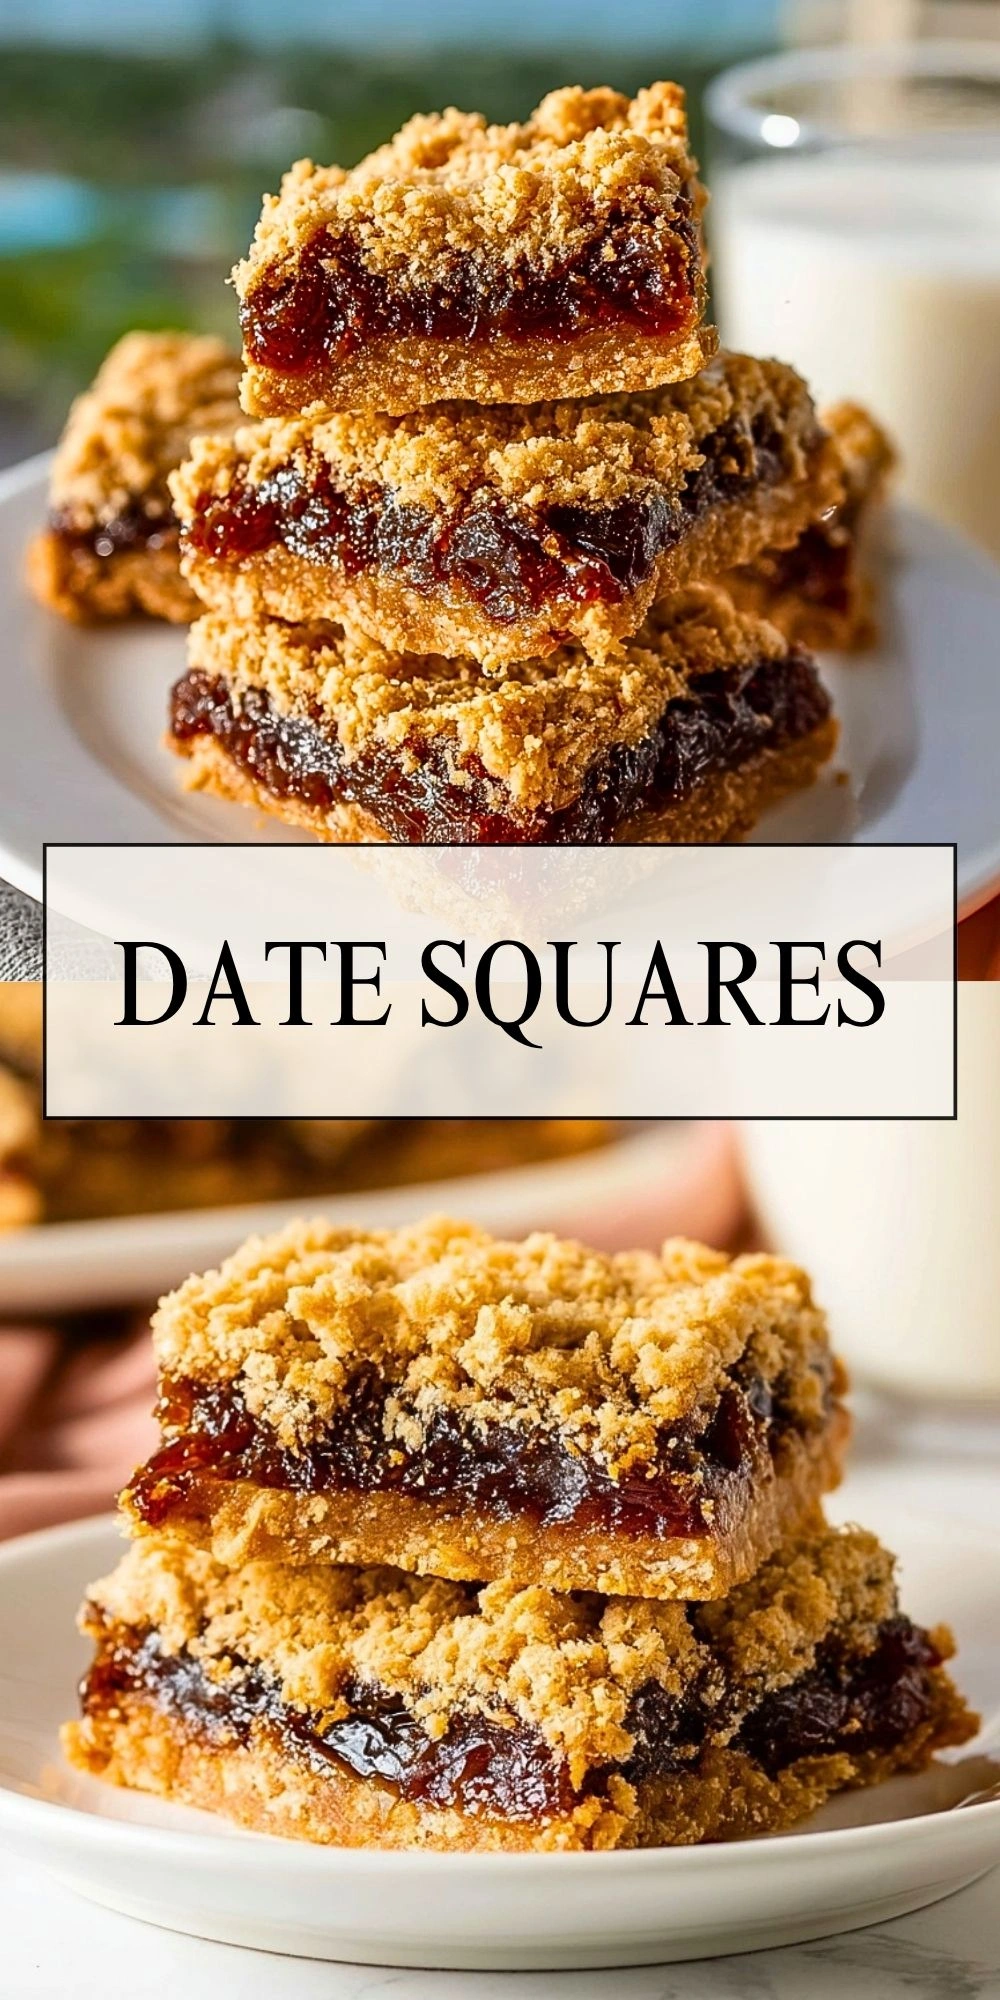
I always come back to Date Squares when I want a dessert that feels cozy, simple, and truly worth baking from scratch. They have that perfect balance of buttery oat crumble and rich, sweet date filling, and every bite tastes like something you would find in an old family recipe box.

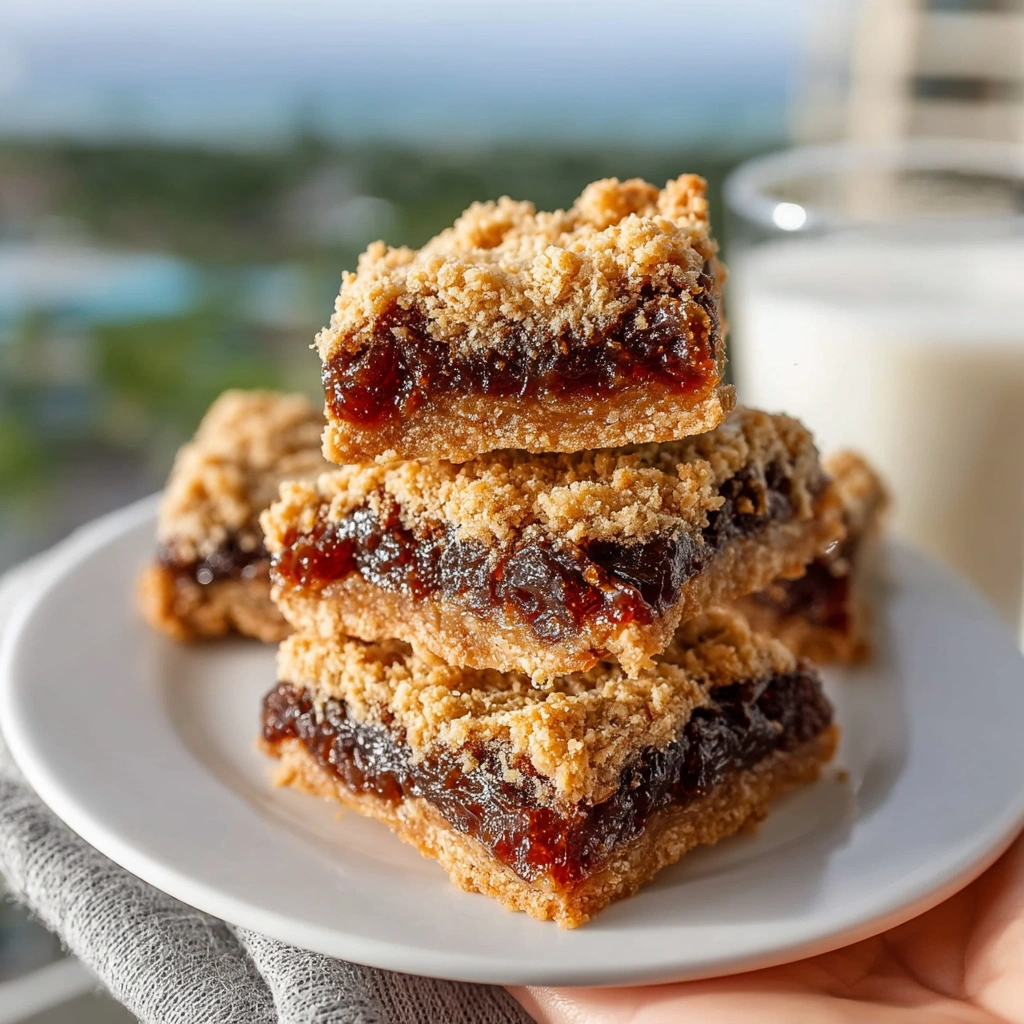
What I love most is how unfussy they are. I do not need fancy ingredients or complicated steps to make them turn out beautifully. These bars bake up with a soft, jammy center and a golden, crumbly top, which makes them just right for an afternoon treat, a holiday tray, or a little something sweet with coffee.
Why You’ll Love These Date Squares
I love this recipe because it gives me everything I want in a classic dessert bar. The crust and topping come together from the same buttery oat mixture, so prep stays easy and cleanup stays light. The date filling is naturally rich and caramel-like, which makes these bars taste special without needing frosting or extra decoration.
These Date Squares also store well, slice neatly once cooled, and feel just as right for a weekend bake as they do for a make-ahead dessert. If you enjoy old-fashioned treats with warm flavor and texture, this is one of those bakes that never goes out of style.
Why Are Date Squares Such a Classic Dessert?
I think Date Squares have stayed popular for so long because they are comforting in the best way. Dates cook down into a thick, glossy filling that tastes deep and naturally sweet, while the oat crumble adds a buttery, hearty texture that keeps the bars from feeling overly heavy.
They also fit into so many moments. I can serve them with tea, pack them into lunchboxes, or add them to a dessert spread with other bars and cookies. They feel humble, but once you taste that chewy date layer under the crumb topping, it is easy to remember why they have been loved for generations.
Ingredients for the Date Squares
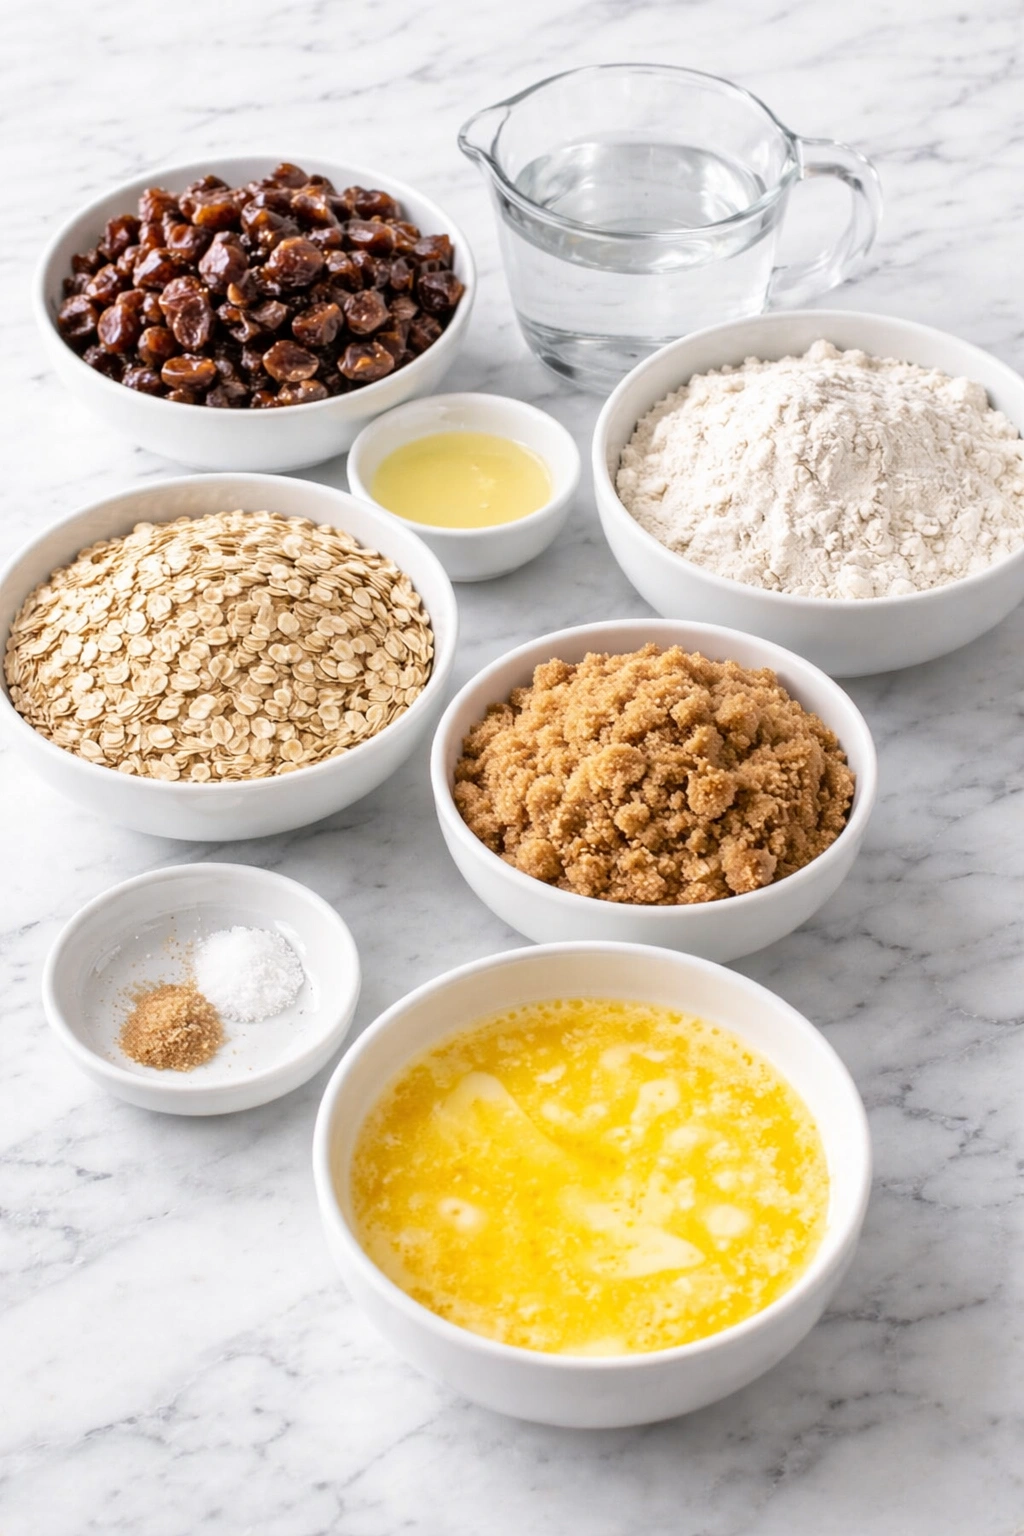
Each ingredient in these Date Squares has a clear job, which is one reason I enjoy making them so much. Dates are the heart of the filling, bringing that deep sweetness and soft texture that defines the bars. Water helps the dates soften as they cook, while a little lemon juice brightens the filling so it does not taste flat.
Old-fashioned oats give the crust and topping their signature rustic texture. All-purpose flour helps hold the crumble together, and brown sugar adds warmth and a light caramel note that pairs beautifully with the dates. Baking soda keeps the crumb from feeling too dense, salt sharpens all the flavors, and melted butter brings the whole mixture together into those golden, rich layers.
How To Make the Date Squares
The process is simple, but I like to take my time with each layer so the bars bake up with a neat crust, a thick filling, and a crisp, crumbly top. Once everything is assembled, the oven does the rest.
Step 1: Prepare the Date Filling
I start by adding the chopped dates, water, and lemon juice to a saucepan over medium heat. I stir often as the mixture softens and thickens into a spreadable paste. This usually takes just a few minutes, and I let it cool slightly before layering it into the pan.
Step 2: Mix the Oat Crumble
In a large bowl, I combine the old-fashioned oats, all-purpose flour, brown sugar, baking soda, and salt. Then I pour in the melted butter and stir until the mixture looks evenly moistened and crumbly. It should hold together lightly when pressed in my hand.
Step 3: Press in the Bottom Layer
I line an 8×8-inch baking pan with parchment paper, then press about two-thirds of the oat mixture firmly into the bottom. I make sure it is even all the way to the corners so the bars have a sturdy base.
Step 4: Spread the Filling
Next, I spoon the date filling over the crust and gently spread it into an even layer. I try not to drag too hard so the crust stays in place.
Step 5: Add the Crumble Topping
I sprinkle the remaining oat mixture over the top of the filling. I like to leave some larger crumbs for extra texture once the bars bake.
Step 6: Bake Until Golden
I bake the Date Squares at 350°F until the top is lightly golden and the filling is bubbling at the edges, about 30 to 35 minutes. Then I let the pan cool completely before slicing so the layers can set properly.
How to Serve and Store Date Squares
This recipe makes about 9 large squares or 12 smaller bars, depending on how I slice them. I usually serve them at room temperature because that is when the texture feels just right: the filling stays soft and the crumble stays tender with a little bite.
If I am making them ahead, I keep the bars in an airtight container at room temperature for up to 2 days or in the refrigerator for up to 5 days. They also freeze well. I like to place parchment between layers so they do not stick, then thaw them in the fridge or on the counter before serving.
What to Serve With Date Squares
When I want to turn these bars into more of a dessert plate, I usually pair them with simple sides and drinks that let the date filling shine.
- Fresh coffee or hot tea for a cozy afternoon treat.
- A scoop of vanilla ice cream for a warm-and-cool contrast.
- Whipped cream with a pinch of cinnamon for a light topping.
- A fruit spread with sliced apples or pears for a lovely fall dessert board.
Frequently Asked Questions
Can I use pitted whole dates for Date Squares?
Yes, I often do. I just chop them before cooking so they soften more quickly and turn into a smoother filling.
Can I make Date Squares ahead of time?
Absolutely. I actually think they are even better after they have cooled and rested for a few hours. The filling sets nicely, and the bars slice much more cleanly.
Do I need old-fashioned oats, or can I use quick oats?
I prefer old-fashioned oats because they give the crumble more texture. Quick oats can work in a pinch, but the bars will have a softer, less hearty topping.
Why is my date filling too thick?
Sometimes the dates absorb liquid faster depending on how dry they are. If that happens, I stir in a splash of extra water while cooking until the filling loosens into a spreadable consistency.
Can I freeze Date Squares?
Yes, these freeze beautifully. I let them cool completely, slice them, and store them in a freezer-safe container with parchment between layers. They are great to have on hand when I want an easy sweet bite.
Save This Pin For Later
📌 Save this Date Squares recipe to your Pinterest dessert board so you can come back to it any time.
And let me know in the comments how yours turned out. Did you keep them classic, or did you add a little cinnamon or orange zest to the filling? I always love seeing the little twists that make a recipe feel personal.
If you enjoy baking cozy bars and old-fashioned sweets, you might also like my Simple Pecan Pie Bars, Easy Apple Crisp, Cranberry Lemon Bars, and Pumpkin Bars with Cream Cheese Frosting. For even more daily dessert inspiration, follow Life With Rosa on Pinterest.
Conclusion
Date Squares are one of those timeless bakes I never get tired of making. They are simple, rich, buttery, and full of that deep date flavor that makes every bite feel comforting. Whether I am baking them for family, a casual gathering, or just to have something sweet in the kitchen, they always disappear fast.
I hope this recipe earns a spot in your regular baking rotation too. Once you try that tender oat crust with the thick date center, it is easy to see why these bars have stayed so loved for so many years.
Print Date Squares
- Total Time: 50 minutes
- Yield: 9 large squares
- Diet: Vegetarian
Description
These Date Squares are a cozy, old-fashioned dessert with a buttery oat crumble and a rich, sweet date filling that tastes like pure comfort. They are perfect for a quick breakfast treat, easy dessert, healthy snack idea, holiday baking tray, or anytime you want simple food ideas and an easy recipe that feels homemade and special.
Ingredients
1 1/2 cups chopped pitted dates
1 cup water
1 tablespoon lemon juice
1 cup old-fashioned oats
1 cup all-purpose flour
3/4 cup brown sugar
1/4 teaspoon baking soda
1/4 teaspoon salt
3/4 cup melted butter
Instructions
1. Preheat the oven to 350°F and line an 8×8-inch baking pan with parchment paper.
2. Add the chopped dates, water, and lemon juice to a saucepan over medium heat.
3. Cook the date mixture, stirring often, until it becomes thick and spreadable.
4. Remove the filling from the heat and let it cool slightly.
5. In a large bowl, mix the oats, flour, brown sugar, baking soda, and salt.
6. Pour in the melted butter and stir until the mixture is evenly crumbly.
7. Press two-thirds of the oat mixture firmly into the bottom of the prepared pan.
8. Spread the date filling evenly over the crust.
9. Sprinkle the remaining oat mixture over the top.
10. Bake for 30 to 35 minutes, until the top is lightly golden.
11. Cool completely before slicing into squares.
Notes
Do not slice the bars while they are still warm, or the filling may spill and the squares will not hold their shape cleanly.
- Prep Time: 15 minutes
- Cook Time: 35 minutes
- Category: Dessert Bars
- Method: Baking
- Cuisine: North American
Nutrition
- Serving Size: 1 square
- Calories: 290
- Sugar: 23 g
- Sodium: 115 mg
- Fat: 14 g
- Saturated Fat: 8 g
- Unsaturated Fat: 5 g
- Trans Fat: 0 g
- Carbohydrates: 40 g
- Fiber: 3 g
- Protein: 3 g
- Cholesterol: 33 mg
Keywords: date squares, old-fashioned dessert, easy recipe, dessert bars, oat crumble bars, date filling bars, homemade dessert, food ideas, healthy snack, quick breakfast treat