 Rosa Martinez
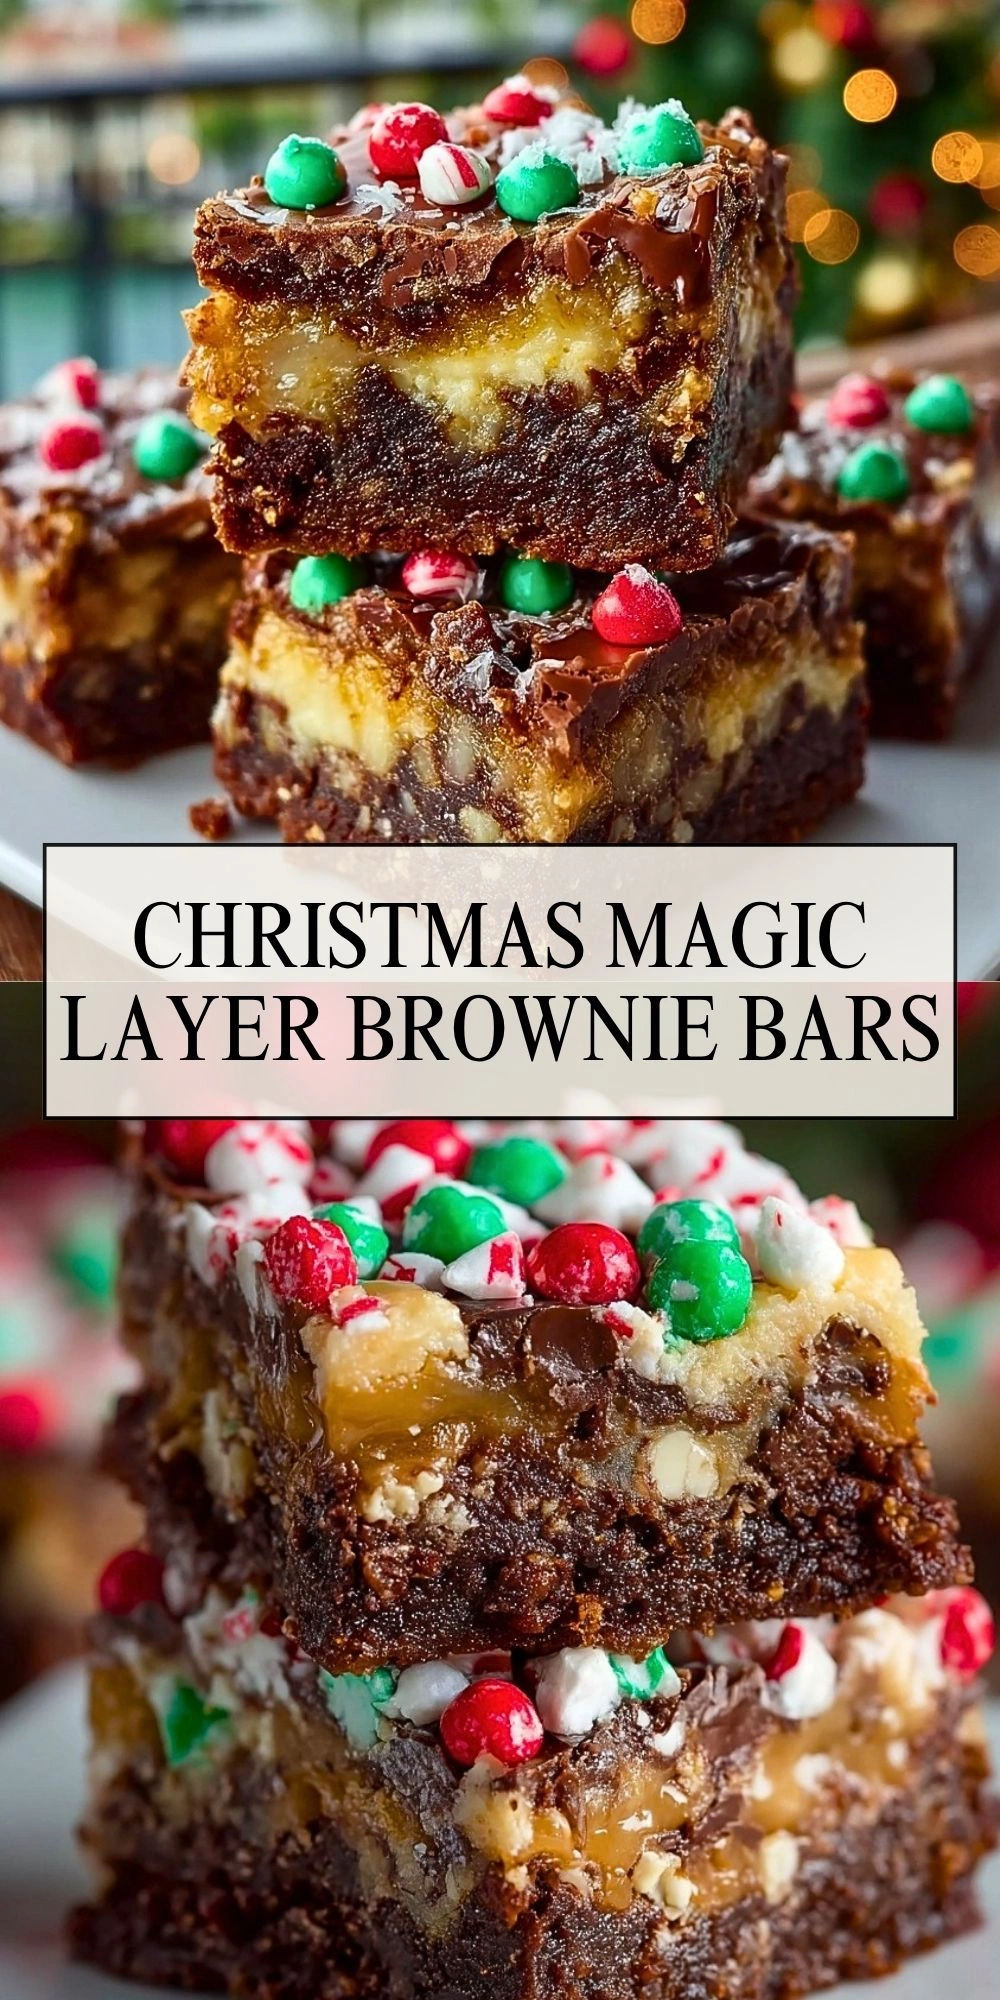
The first time I made these Christmas Magic Layer Brownie Bars, I knew they were the kind of holiday dessert people would talk about long after the tray was empty. They have that rich, fudgy brownie base I always crave in December, but the real magic is in the topping. Every bite is packed with chocolate, crunchy candy pieces, sweet coconut, and little pockets of buttery goodness that make them feel extra festive.

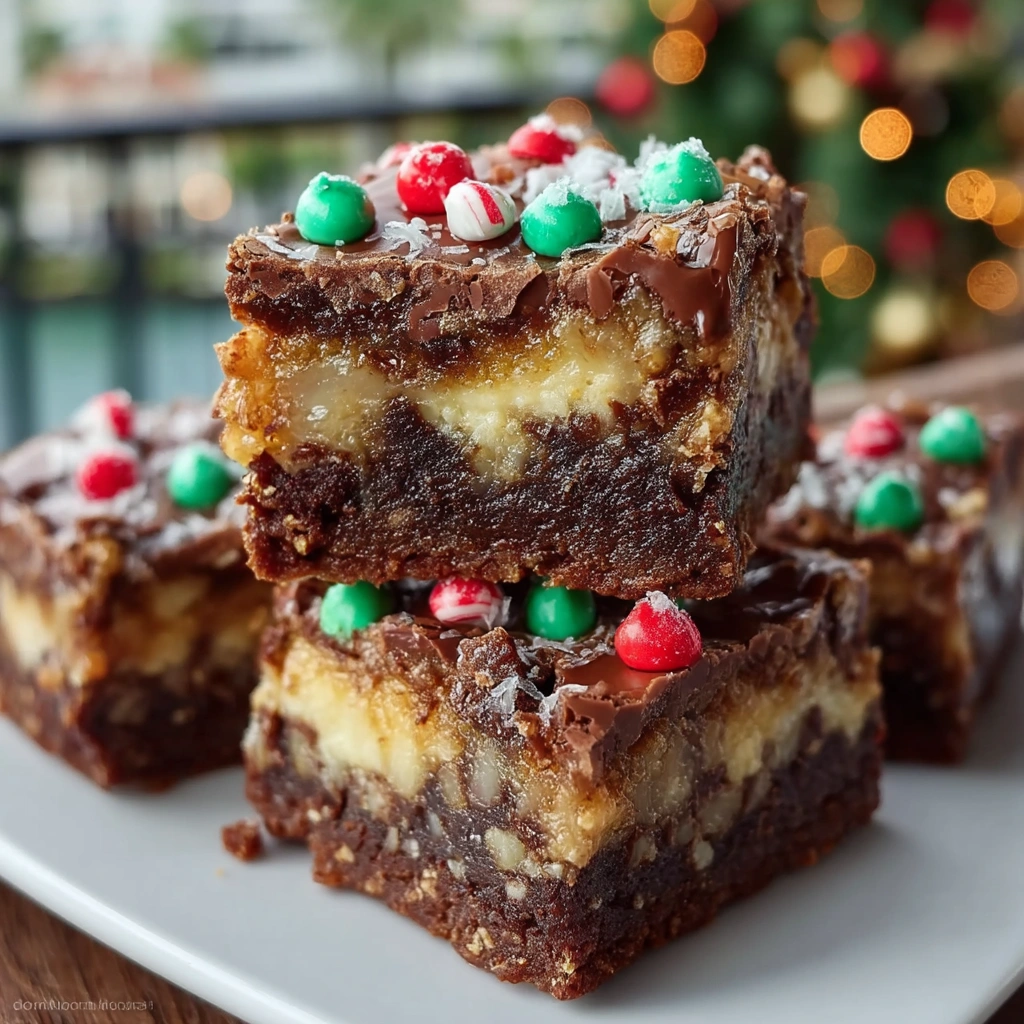
I love setting these out on a dessert table because they look like Christmas without needing any fancy decorating. The red, green, and white candies on top do all the work for me, and the bars slice up into beautiful little squares that are perfect for cookie boxes, parties, or late-night holiday snacking with a mug of coffee.
Why You’ll Love These Christmas Magic Layer Brownie Bars
I love this dessert because it gives me everything I want in one pan. The brownie layer stays dense and chewy, while the topping adds creamy, crunchy, and chocolatey texture all at once. It feels special enough for Christmas gatherings, but it is also easy enough to make when I just want something festive without spending all afternoon in the kitchen.
Another reason I keep coming back to these bars is how well they fit into holiday baking season. They travel well, they look adorable on a cookie tray, and they can be made ahead. If you enjoy easy bar desserts like S’mores Cookie Bars or crowd-pleasing holiday treats like Pumpkin Bars with Cream Cheese Frosting, these brownie bars deserve a spot on your must-bake list too.
What Makes Christmas Magic Layer Brownie Bars So Irresistible?
For me, it is the contrast. The bottom is deep, dark, and fudgy, while the top is colorful, sweet, and loaded with texture. Sweetened condensed milk melts into the layers and helps everything bake together into a gooey, candy-studded topping that tastes a little like a holiday brownie and a seven-layer bar had the best dessert mash-up ever.
I also love how flexible these bars are. I can make them with walnuts or pecans, use red and green candy-coated chocolates for a Christmas look, or switch the toppings around depending on what I have in the pantry. They are playful, indulgent, and exactly the kind of dessert I want around during the holidays.
Ingredients for the Christmas Magic Layer Brownie Bars
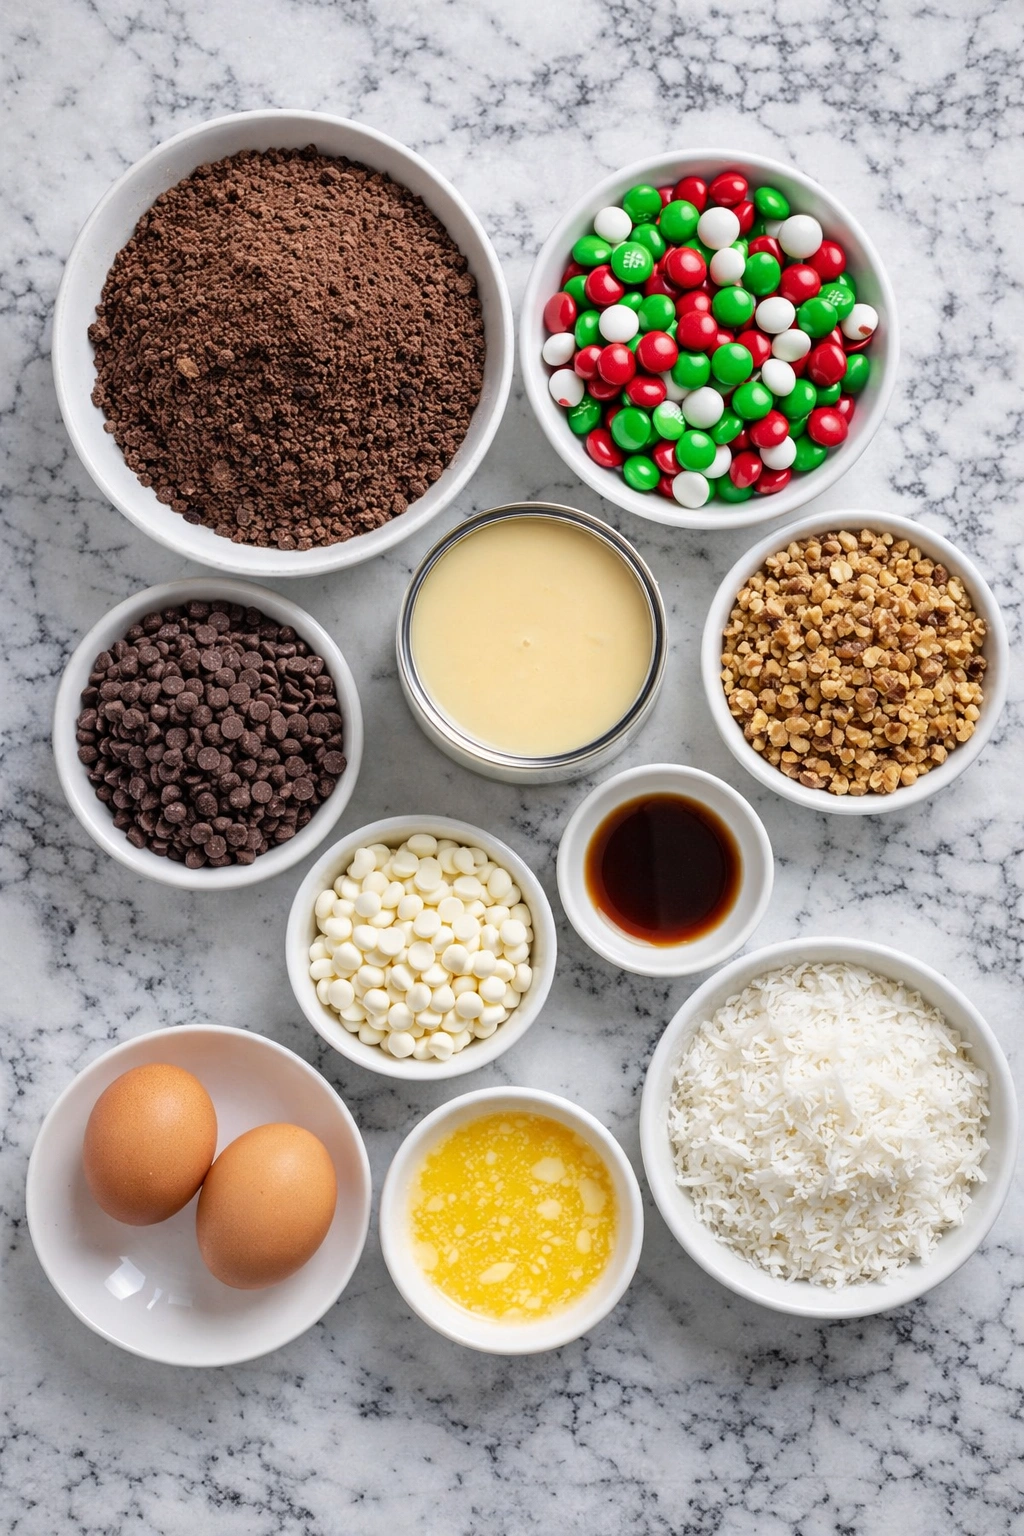
Each ingredient in these bars has a job to do, and that is part of why they turn out so satisfying. I like using a brownie mix for the base because it keeps the recipe simple and still gives me that chewy, chocolate-rich foundation. Eggs, melted butter, and a splash of vanilla help the batter come together with a homemade feel.
Sweetened condensed milk is what gives these magic layer brownie bars their signature gooey finish. It soaks into the toppings as they bake and ties everything together beautifully. Shredded coconut brings sweetness and texture, while chopped walnuts add crunch and a slightly buttery, nutty bite.
Semi-sweet chocolate chips keep the bars rich without making them too sugary, and white chocolate chips add a creamy contrast. The red and green candy-coated chocolates make these feel unmistakably festive, and a sprinkle of mini chocolate chips on top gives the whole pan an extra bakery-style finish.
How To Make the Christmas Magic Layer Brownie Bars
Before I start, I preheat the oven to 350°F and line an 8×8-inch baking pan with parchment paper. That makes lifting and slicing the bars so much easier once they cool.
Step 1: Make the Brownie Base
I stir together the brownie mix, eggs, melted butter, and vanilla until the batter is smooth and thick. Then I spread it evenly into the prepared pan, making sure it reaches the corners so the bars bake up level.
Step 2: Add the Magic Layer
Over the brownie batter, I drizzle the sweetened condensed milk as evenly as I can. Then I scatter on the shredded coconut, chopped walnuts, semi-sweet chocolate chips, white chocolate chips, and most of the candy-coated chocolates. I like to save a small handful of candies and mini chocolate chips for the very top so the bars look extra cheerful after baking.
Step 3: Bake Until Set
I bake the bars for about 32 to 38 minutes, just until the edges look set and the center no longer seems overly loose. Because of the condensed milk and chocolate, the top will still look gooey, and that is exactly what I want.
Step 4: Cool Completely Before Slicing
This is the hardest part for me, but it matters. I let the bars cool in the pan, then chill them for at least 1 hour before slicing. That helps the layers firm up so I get clean, pretty squares instead of a delicious mess.
Step 5: Finish and Serve
Once chilled, I lift the bars out with the parchment, slice them into squares, and add an extra little sprinkle of coconut or mini chips if I want them to look extra festive. They are ready for cookie trays, dessert platters, or wrapping up for holiday gifts.
Serving and Storing Christmas Magic Layer Brownie Bars
This recipe makes about 16 small bars or 12 larger bakery-style squares, depending on how I cut them. I usually serve them chilled or at cool room temperature because that gives the cleanest texture and keeps the layers nice and chewy. They are rich, so a small square really goes a long way.
To store them, I keep the bars in an airtight container in the refrigerator for up to 5 days. I place parchment between layers if I am stacking them. For longer storage, I freeze them in a single layer first, then transfer them to a freezer-safe container. They thaw beautifully, which makes them such a handy make-ahead Christmas dessert.
What to Serve With Christmas Magic Layer Brownie Bars
I love serving these bars with a hot cup of coffee because the bitterness balances the sweetness so nicely.
A glass of cold milk is always a classic choice, especially if I am putting these out for kids and family gatherings.
For a cozy dessert plate, I like pairing them with something creamy and simple like Peanut Butter Icing as a fun dip on the side for anyone who wants an extra decadent treat.
If I am building a holiday dessert spread, I often place them alongside lighter, fruity sweets such as Cranberry Lemon Bars to give everyone a little variety.
Frequently Asked Questions
Can I use homemade brownie batter instead of a brownie mix?
Yes, I can absolutely use homemade brownie batter here. I just make sure it is a thick, fudgy-style batter rather than a very cakey one. A fudgy base works best because it holds up well under all the toppings and keeps that dense magic-bar feel.
Do I have to use coconut in these bars?
Not at all. If coconut is not my thing, I can leave it out and replace it with extra chocolate chips, chopped nuts, or more holiday candies. The texture will change a little, but the bars will still be delicious.
How do I keep the bars from falling apart when I slice them?
The biggest trick is patience. I always let them cool completely, then chill them before cutting. Using a sharp knife and wiping it clean between slices also makes a big difference. If I try to cut them while still warm, the layers are much softer and messier.
Can I make Christmas Magic Layer Brownie Bars ahead of time?
Yes, and I actually think they are even better after they have had time to chill. I often make them the day before I need them, then keep them in the refrigerator until I am ready to serve. That makes holiday entertaining so much easier.
Can I swap the nuts for something else?
Definitely. If I want a nut-free version, I leave them out or replace them with extra candy-coated chocolates, pretzel pieces, or more coconut. If I still want that crunchy bite, chopped toffee bits can also work really well.
Save This Pin For Later
📌 Save these Christmas Magic Layer Brownie Bars to your Pinterest dessert board so you can come back to them any time.
When I am planning holiday baking, I always appreciate having easy, festive dessert ideas saved in one place. These bars are the kind of treat I make when I want something eye-catching, chocolatey, and simple enough to pull together without stress.
And let me know in the comments how yours turned out. Did you add extra chocolate chips, swap the walnuts, or go heavy on the holiday candies? I love hearing how other people make these recipes their own. Questions are always welcome too.
For even more cozy baking inspiration, take a look at Life With Rosa for fresh dessert ideas and holiday treats.
Conclusion
Christmas Magic Layer Brownie Bars are one of those desserts I can count on when I want maximum holiday charm with very little fuss. They are rich, chewy, colorful, and full of fun textures that make every bite feel festive.
I love that they are easy enough for casual baking days but pretty enough to share at parties, cookie swaps, and holiday dinners. If I want a dessert that looks joyful, tastes indulgent, and disappears fast, this is the pan I bake.
Print Christmas Magic Layer Brownie Bars
- Total Time: 50 minutes
- Yield: 16 bars
- Diet: Vegetarian
Description
These Christmas Magic Layer Brownie Bars are a rich, fudgy holiday dessert loaded with chocolate chips, sweetened condensed milk, crunchy nuts, coconut, and festive candy-coated chocolates. They are an easy recipe for Christmas baking, dessert boards, party trays, and fun food ideas when you need quick holiday treats, easy dessert bars, and festive baking ideas everyone will want to grab first.
Ingredients
1 box brownie mix
2 large eggs
1/2 cup melted butter
1 teaspoon vanilla extract
14 ounces sweetened condensed milk
1 cup shredded sweetened coconut
3/4 cup chopped walnuts
3/4 cup semi-sweet chocolate chips
1/2 cup white chocolate chips
3/4 cup red and green candy-coated chocolates
1/4 cup mini chocolate chips
Instructions
1. Preheat the oven to 350°F and line an 8×8-inch baking pan with parchment paper.
2. In a mixing bowl, stir together the brownie mix, eggs, melted butter, and vanilla extract until a thick batter forms.
3. Spread the brownie batter evenly into the prepared pan.
4. Drizzle the sweetened condensed milk evenly over the brownie batter.
5. Sprinkle the shredded coconut, chopped walnuts, semi-sweet chocolate chips, white chocolate chips, and candy-coated chocolates over the top.
6. Finish with the mini chocolate chips for an extra festive layer.
7. Bake for 32 to 38 minutes, until the edges are set and the center is just slightly gooey.
8. Let the bars cool completely in the pan, then chill for 1 hour before slicing for the cleanest squares.
9. Cut into bars and serve chilled or at cool room temperature.
Notes
Do not slice the bars while they are still warm, or the layers will be too soft and messy instead of neat and chewy.
- Prep Time: 15 minutes
- Cook Time: 35 minutes
- Category: Dessert
- Method: Baking
- Cuisine: American
Nutrition
- Serving Size: 1 bar
- Calories: 285
- Sugar: 24g
- Sodium: 165mg
- Fat: 16g
- Saturated Fat: 8g
- Unsaturated Fat: 7g
- Trans Fat: 0g
- Carbohydrates: 34g
- Fiber: 2g
- Protein: 4g
- Cholesterol: 32mg
Keywords: Christmas Magic Layer Brownie Bars, holiday brownie bars, easy dessert bars, Christmas baking, fudgy brownie bars, festive dessert, chocolate dessert bars, holiday treats, easy recipe, food ideas