 Rosa Martinez
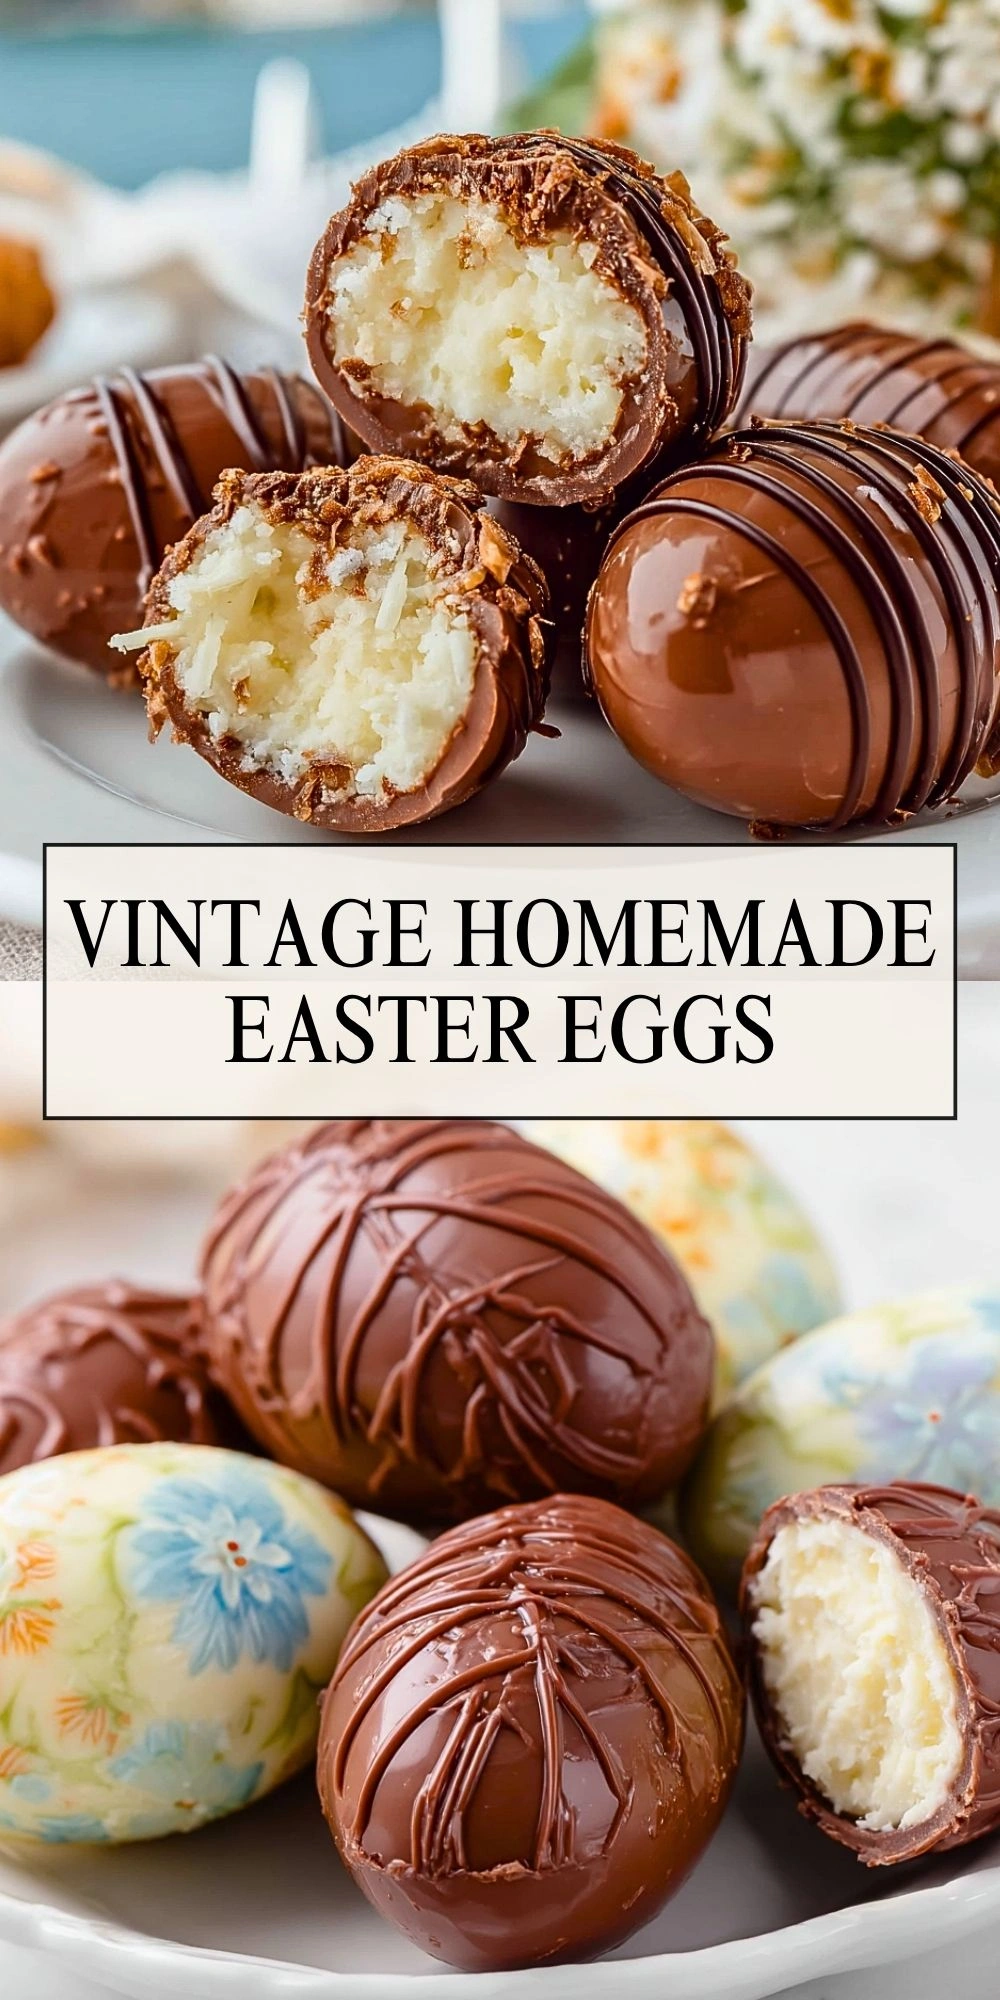
Every time Easter rolls around, I find myself pulled back to the kind of sweets that feel nostalgic, homemade, and a little bit special. These Vintage Homemade Easter Eggs are one of those treats that instantly bring back the charm of old-fashioned holiday baking, with their rich chocolate shell and creamy coconut filling tucked inside.

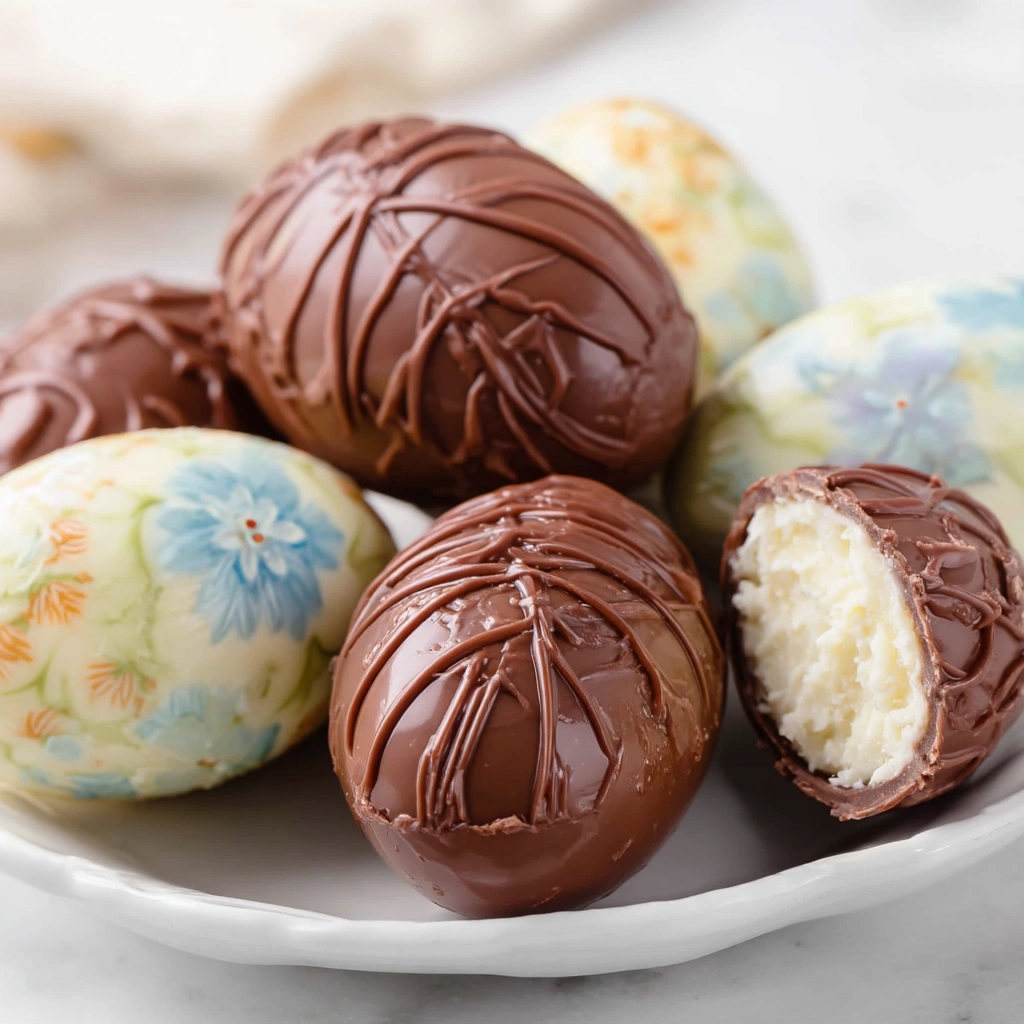
What I love most is how beautiful and impressive they look, even though the process is surprisingly simple. They have that classic candy-shop feel, but making them at home gives them so much more personality. They are perfect for Easter dessert trays, edible gifts, and sweet little moments with family in the kitchen.
Why You’ll Love These Vintage Homemade Easter Eggs
I love making these when I want something festive that feels more meaningful than store-bought candy. The centers are soft, rich, and sweet, while the chocolate coating adds that perfect snap on the outside. They look elegant on a platter, but they still have that cozy homemade touch.
Another reason I keep coming back to them is how easy they are to customize. I can keep them classic, change the chocolate, or add small flavor twists depending on who I’m making them for. If you enjoy nostalgic sweets like old-fashioned butter mints, these Easter eggs will fit right into your holiday baking plans.
What Makes Vintage Homemade Easter Eggs So Special?
The charm of these Easter eggs is in their old-fashioned style. They are not overly fancy or complicated, but they feel like something passed down through generations. The creamy filling, hand-shaped egg form, and glossy chocolate coating all come together in a way that feels timeless.
I also think they stand out because they are the kind of recipe that turns into a tradition. Much like my easy mint chocolate chip snowball cookies or candy cane cheesecake parfaits, these are the treats people remember and ask for again.
Ingredients for the Vintage Homemade Easter Eggs
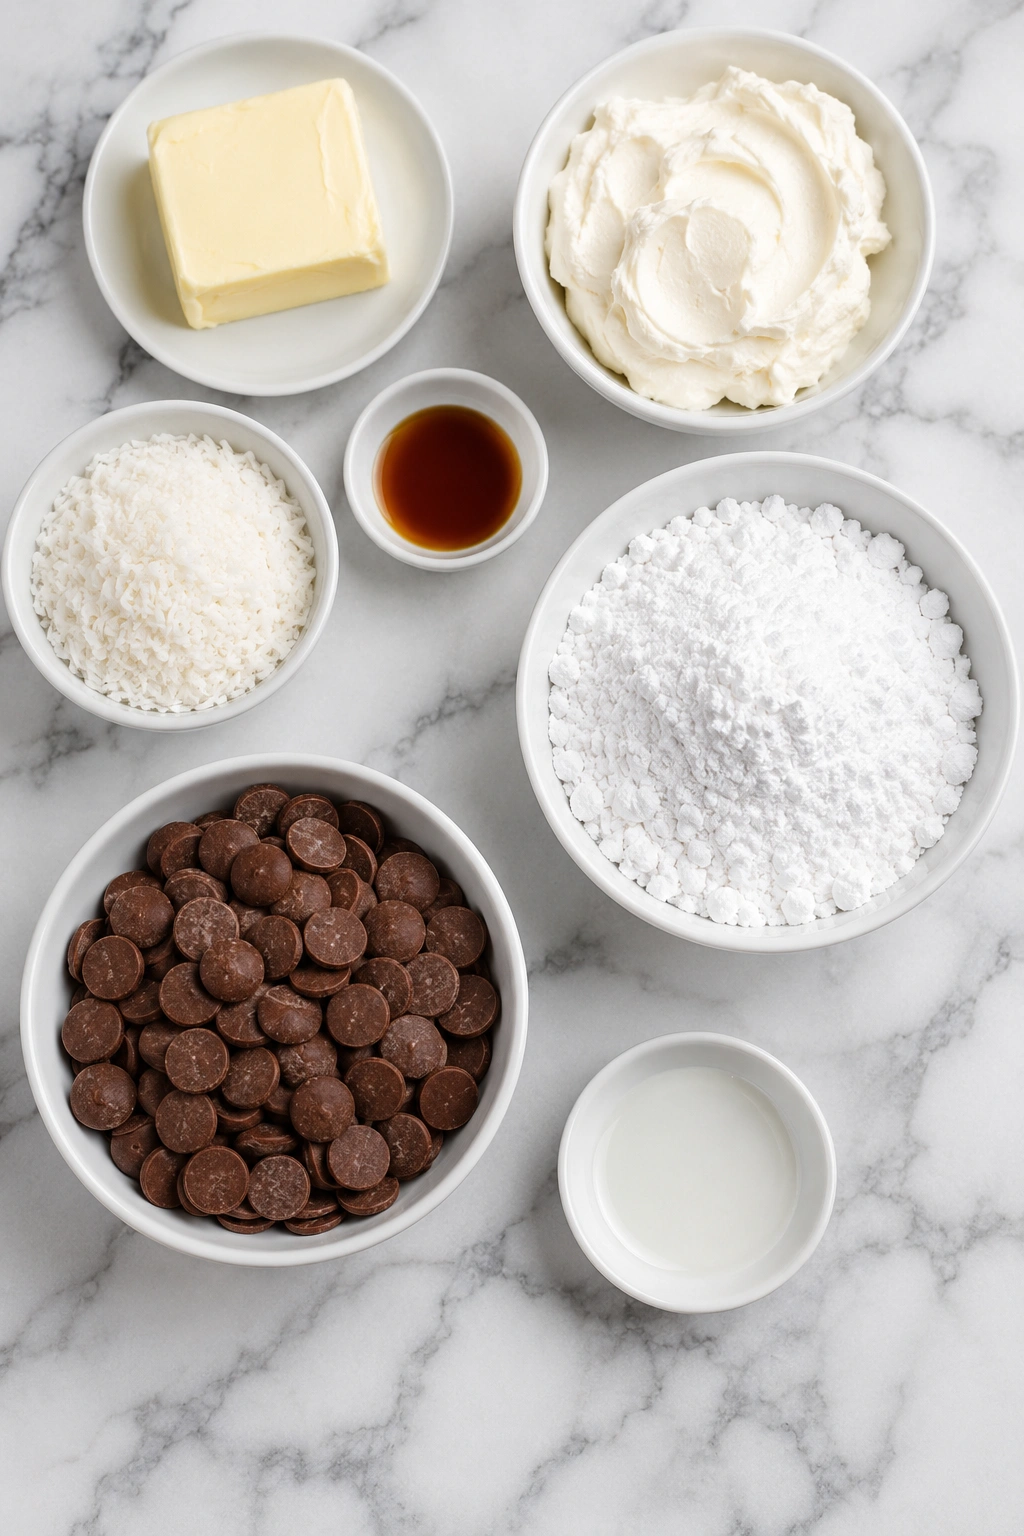
The ingredient list is simple, but every item plays an important role in creating that smooth filling and classic chocolate shell.
Butter
I use softened butter to give the filling richness and a smooth texture. It helps everything blend together into a creamy center that feels melt-in-your-mouth.
Cream cheese
Cream cheese adds body and a slight tang that balances the sweetness. It is one of the reasons the filling tastes so luscious instead of flat.
Vanilla extract
A splash of vanilla gives the filling warmth and rounds out the flavor. It adds that homemade candy-shop aroma I always want in a holiday treat.
Sweetened shredded coconut
Coconut gives these eggs their signature texture. It makes the filling soft, chewy, and instantly recognizable as an old-fashioned Easter candy.
Powdered sugar
Powdered sugar sweetens the filling and helps firm it up enough to shape. I add it gradually so the texture stays soft but workable.
Milk chocolate or semisweet chocolate
Chocolate forms the shell around each egg. I like using milk chocolate for a classic candy flavor, but semisweet works beautifully too if I want a slightly deeper taste.
Coconut oil or shortening
A little coconut oil or shortening helps melt the chocolate smoothly and makes dipping easier. It also gives the shell a prettier finish.
How To Make the Vintage Homemade Easter Eggs
This is one of those recipes that feels fun from start to finish. The steps are simple, and once the centers are chilled, the dipping goes much more smoothly.
Step 1: Make the Creamy Filling
In a large bowl, I beat the softened butter and cream cheese until the mixture is completely smooth. Then I stir in the vanilla, shredded coconut, and powdered sugar until a thick, sweet filling forms. It should be soft, but still firm enough to scoop and shape.
Step 2: Shape the Eggs
I scoop portions of the filling and roll them gently before shaping each one into a small egg. This part does not have to be perfect. In fact, that slightly handmade look is part of the charm.
Step 3: Chill Until Firm
Once shaped, I place the eggs on a parchment-lined tray and chill them until firm. This step matters because cold centers are much easier to dip in melted chocolate without falling apart.
Step 4: Melt the Chocolate
I melt the chocolate with a little coconut oil or shortening until smooth and glossy. I usually do this in short bursts in the microwave, stirring often so the chocolate stays silky and does not scorch.
Step 5: Dip the Easter Eggs
Using a fork or dipping tool, I lower each chilled egg into the melted chocolate and coat it completely. Then I lift it out, let the excess drip off, and place it back on the lined tray.
Step 6: Add a Chocolate Drizzle and Set
If I want that extra bakery-style finish, I drizzle a little more melted chocolate over the tops. Then I let the eggs set until the coating is firm. At this stage, they are ready to serve or store.
Serving and Storing Vintage Homemade Easter Eggs
These Vintage Homemade Easter Eggs make a lovely addition to Easter dessert boards, candy trays, and edible gift boxes. I usually serve them chilled or at cool room temperature so the centers stay creamy and the chocolate holds its shape.
This recipe feeds about 18 to 24 people, depending on the size of the eggs and how many other desserts are being served. To store them, I keep them in an airtight container in the refrigerator for up to 1 week. For longer storage, they can be frozen and thawed in the fridge before serving.
What to Serve With Vintage Homemade Easter Eggs
I like pairing these sweet little candies with other Easter and spring favorites to make a fuller dessert spread.
1. Fresh berries
Strawberries, raspberries, or blueberries add freshness and a bright contrast to the rich filling.
2. Hot coffee or tea
A warm drink balances the sweetness beautifully and makes these feel extra cozy after Easter dinner.
3. Light cakes or bars
These pair nicely with softer desserts such as lemon bars, angel food cake, or fruit-forward bakes. They also sit beautifully next to something simple like homemade raspberry and cream angel food cake.
4. Vanilla ice cream
Serving one or two alongside a scoop of vanilla ice cream turns them into an easy plated dessert.
Frequently Asked Questions
Can I make Vintage Homemade Easter Eggs ahead of time?
Yes, and I actually think they are even better when made ahead. The filling has time to firm up, and the flavors settle nicely after a few hours in the fridge. I often make them a day or two before Easter.
Do I have to use coconut in the filling?
Coconut is what gives these eggs their classic vintage personality, but you can adjust the texture a little if needed. If you want a smoother filling, use finely shredded coconut so it blends in more easily.
What kind of chocolate works best for coating?
I usually reach for milk chocolate when I want the most traditional flavor, but semisweet is wonderful if I want the sweetness toned down. Good melting chocolate or chocolate wafers also make the dipping process easier.
Why do my eggs fall apart while dipping?
That usually means they need more chilling time. I always make sure the centers are very firm before dipping, and I work in batches so the rest stay cold while I coat a few at a time.
Can I freeze Vintage Homemade Easter Eggs?
Yes, these freeze well. I place them in a single layer until solid, then transfer them to a freezer-safe container with parchment between layers. When I am ready to serve them, I thaw them in the refrigerator.
Save This Pin For Later
📌 Save this recipe to your Pinterest dessert board so you can come back to it any time.
And let me know in the comments how yours turned out. Did you keep them classic, or did you change the chocolate on top? Did you shape them small for candy trays or make them a little larger for gifting?
I always love hearing how these holiday treats turn out in other kitchens. If you enjoy collecting festive dessert ideas, follow Life With Rosa for more inspiration.
Conclusion
Vintage Homemade Easter Eggs are one of those timeless treats that make the holiday feel extra warm and memorable. They are creamy, chocolatey, and beautiful in that wonderfully homemade way that never goes out of style.
I love that they feel special without being difficult, and I think that is exactly why they deserve a place on the Easter table year after year. Whether you make them for family, friends, or just because you love nostalgic sweets, they are a lovely little tradition worth keeping.
Print Vintage Homemade Easter Eggs
- Total Time: 1 hour 30 minutes
- Yield: 24 Easter eggs
- Diet: Vegetarian
Description
These Vintage Homemade Easter Eggs are a rich, creamy no-bake Easter treat with a soft coconut cream cheese center wrapped in a smooth chocolate shell. They are perfect for a holiday dessert platter, homemade candy gift box, quick Easter dessert, easy recipe, spring food ideas, and festive sweet snack that always feels nostalgic and special.
Ingredients
8 tablespoons butter, softened
8 ounces cream cheese, softened
1 teaspoon vanilla extract
14 ounces sweetened shredded coconut
6 cups powdered sugar
24 ounces milk chocolate or semisweet chocolate
2 tablespoons coconut oil
Instructions
1. In a large mixing bowl, beat the softened butter and cream cheese until completely smooth and fluffy.
2. Mix in the vanilla extract, then stir in the shredded coconut.
3. Add the powdered sugar gradually and mix until a thick filling forms that is soft but easy to shape.
4. Scoop portions of the mixture and shape them into egg forms with your hands.
5. Place the shaped eggs on a parchment-lined tray and chill for 1 to 2 hours, or until firm.
6. Melt the chocolate with the coconut oil, stirring until smooth and glossy.
7. Dip each chilled egg into the melted chocolate, letting the excess drip off before placing it back on the tray.
8. Drizzle extra chocolate over the tops if desired, then let the coating set completely before serving or storing.
Notes
Do not skip chilling the shaped eggs before dipping, or they can soften too much and fall apart in the melted chocolate.
- Prep Time: 25 minutes
- Cook Time: 5 minutes
- Category: Dessert
- Method: No-Bake
- Cuisine: American
Nutrition
- Serving Size: 1 egg
- Calories: 285
- Sugar: 29g
- Sodium: 95mg
- Fat: 14g
- Saturated Fat: 9g
- Unsaturated Fat: 4g
- Trans Fat: 0g
- Carbohydrates: 39g
- Fiber: 2g
- Protein: 3g
- Cholesterol: 22mg
Keywords: Vintage Homemade Easter Eggs, Easter eggs candy, no-bake Easter dessert, homemade Easter candy, coconut Easter eggs, chocolate Easter treats, easy recipe, spring food ideas, holiday dessert