 Rosa Martinez
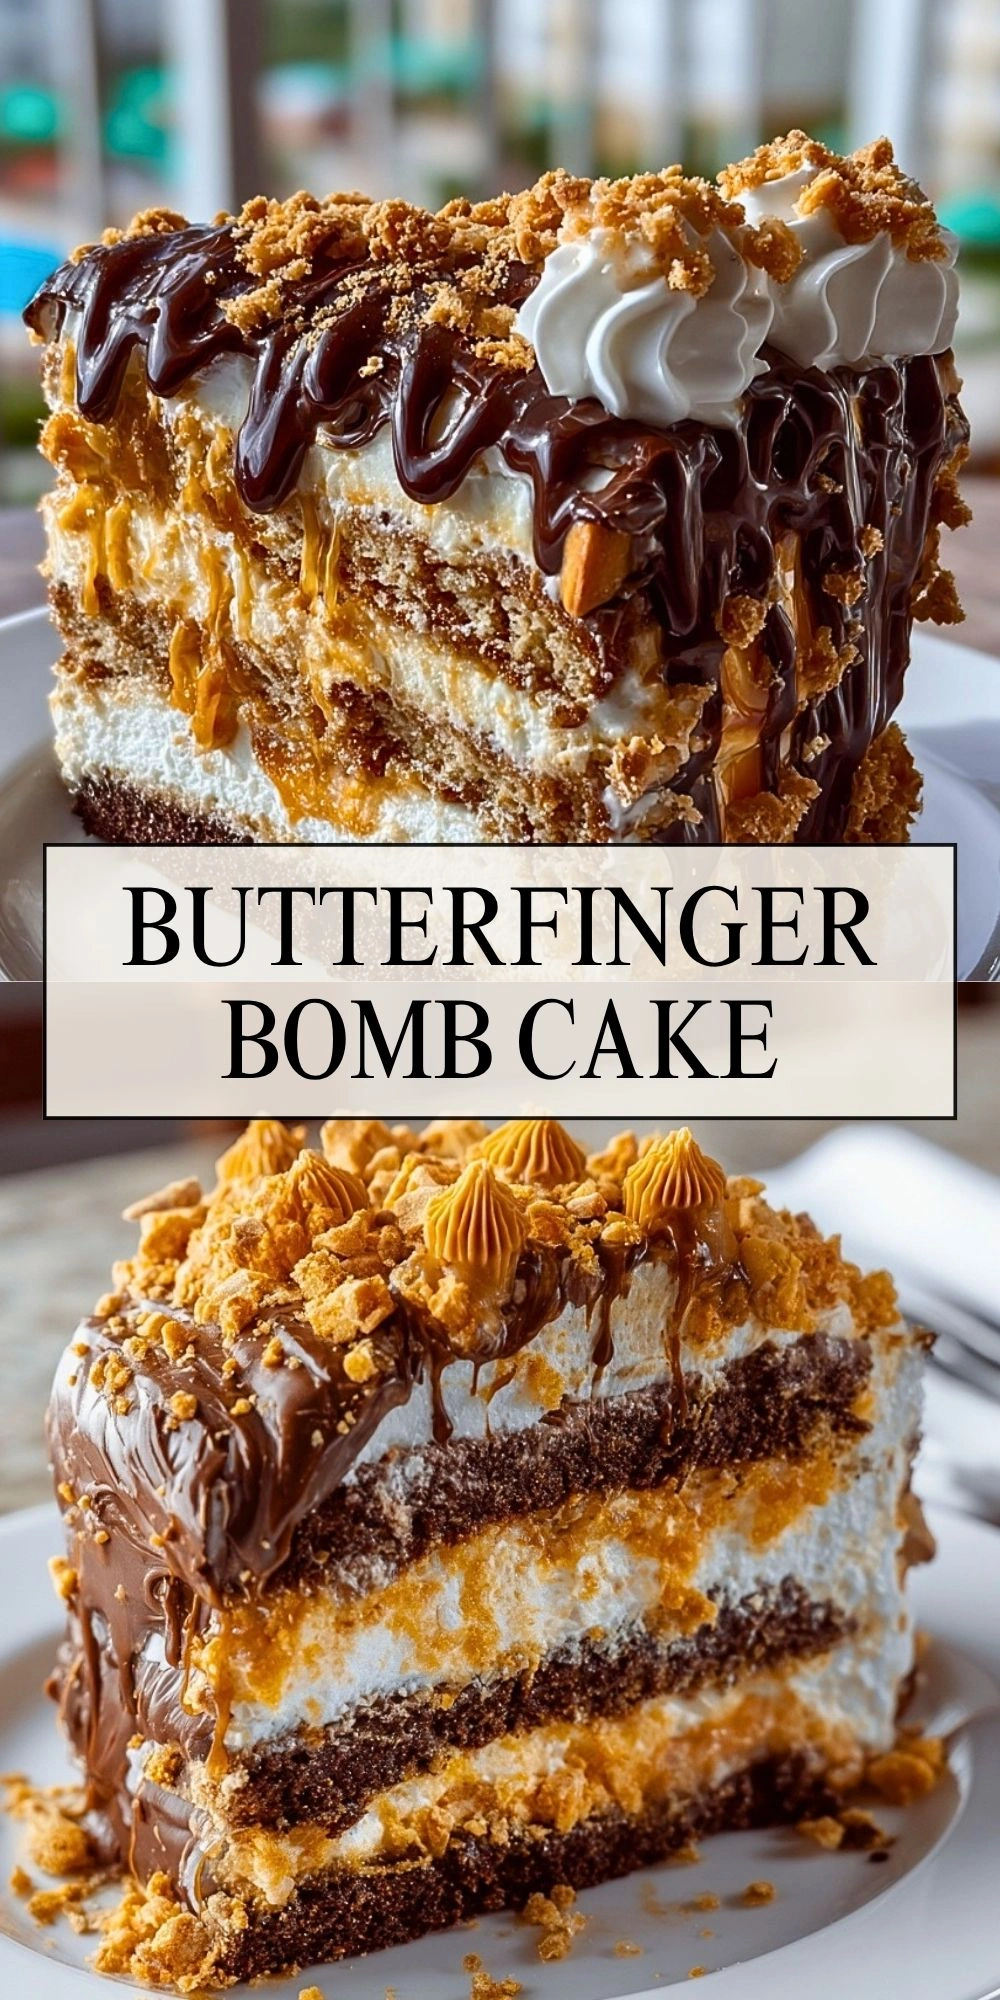
The first time I made this Butterfinger Bomb Cake, I knew it was going to be one of those desserts people talk about long after the plates are cleared. It has everything I want in a celebration cake: rich chocolate layers, creamy filling, gooey caramel, crunchy candy pieces, and a glossy chocolate finish that makes every slice look bakery-worthy.

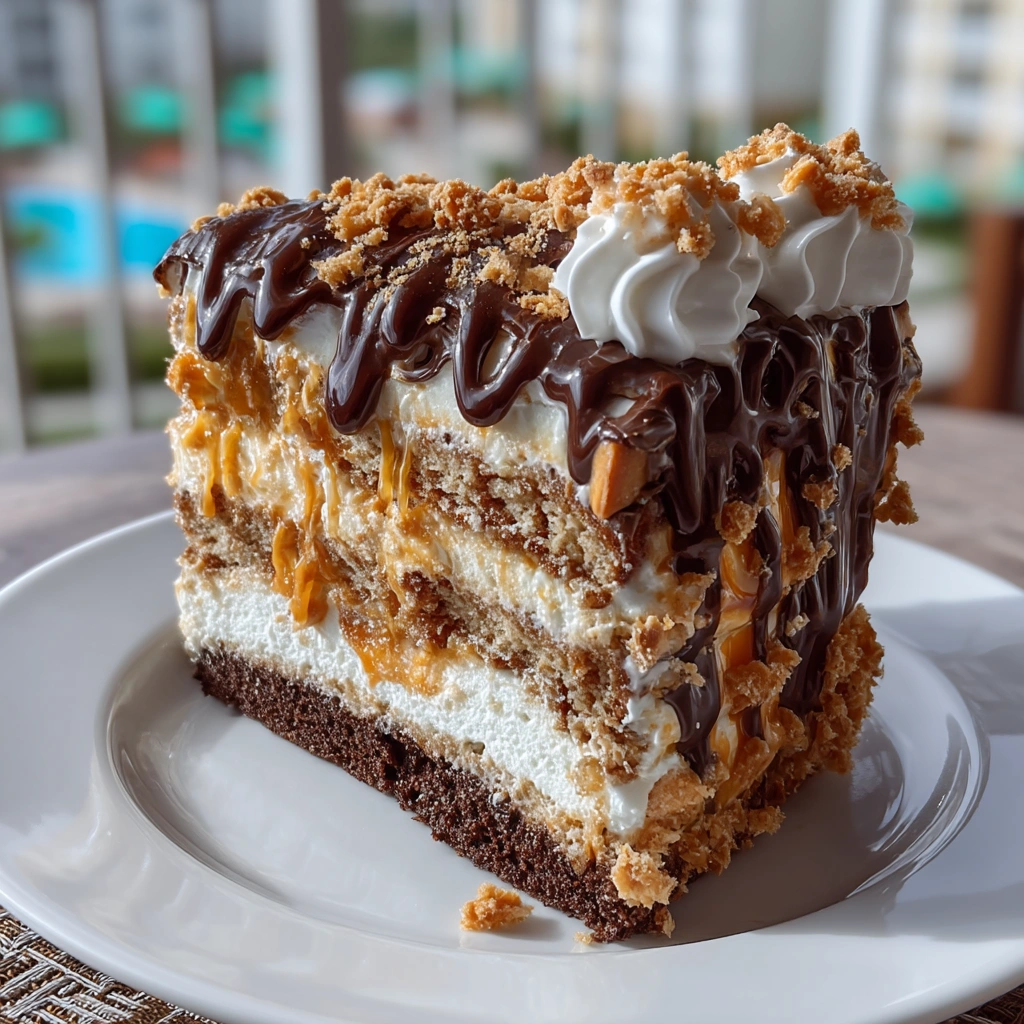
What I love most is how dramatic it looks without being impossible to pull off. Each bite gives you a little bit of everything, from soft cake and fluffy filling to that unmistakable peanut-buttery Butterfinger crunch. When I want a dessert that feels extra special and completely over the top in the best way, this is the cake I make.
Why You’ll Love This Butterfinger Bomb Cake
This Butterfinger Bomb Cake is the kind of dessert that instantly steals the spotlight. I love serving it for birthdays, potlucks, holidays, or anytime I want to bring out a cake that feels fun and indulgent.
It has bold chocolate flavor, creamy layers, and pockets of caramel that melt right into the filling. The crushed Butterfinger candy adds a crispy texture that keeps every bite interesting, and the chocolate frosting seals it all together beautifully. It is also a great make-ahead dessert because the layers get even better after a little chill time.
What Makes Butterfinger Bomb Cake So Irresistible?
For me, the magic of this cake is the contrast. The cake layers are moist and deep in chocolate flavor, while the filling is light, creamy, and sweet enough to balance the richness. Then the caramel brings in a buttery, sticky layer that makes the whole dessert feel decadent.
And of course, the Butterfinger pieces are what make this cake stand out from a standard chocolate layer cake. They add crunch, a toasted peanut butter flavor, and a little candy-bar nostalgia that makes the whole thing feel playful and unforgettable.
Ingredients for the Butterfinger Bomb Cake
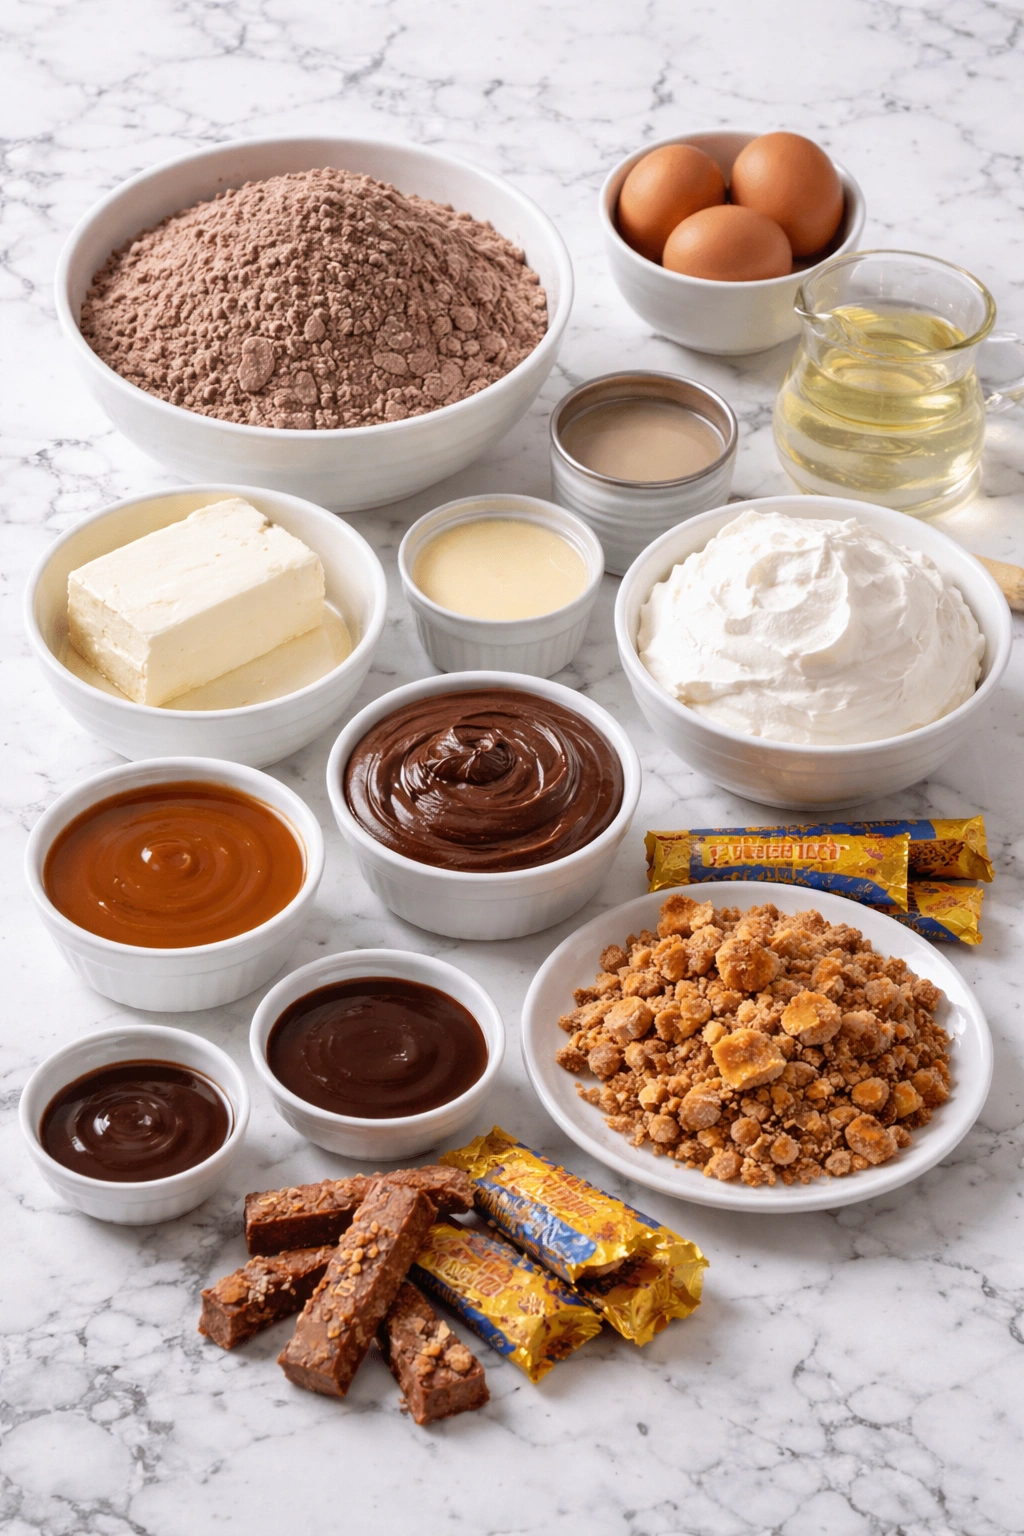
The ingredients for this Butterfinger Bomb Cake are simple on their own, but together they create those rich, dreamy layers that make the cake so memorable.
Chocolate cake mix gives me a quick and dependable base with deep cocoa flavor.
Eggs help bind the batter and give the cake structure.
Vegetable oil keeps the cake tender and moist.
Water loosens the batter so it bakes up soft and even.
Sweetened condensed milk adds creamy sweetness and helps create a luscious filling.
Cream cheese gives the filling a slight tang that balances the chocolate and caramel.
Whipped topping lightens the filling so it feels fluffy instead of heavy.
Caramel sauce adds buttery sweetness and a gooey layer between the cake rounds.
Butterfinger candy bars are the star ingredient, bringing crunch and signature peanut-butter candy flavor.
Chocolate frosting coats the cake and locks in moisture while giving it a rich finish.
Chocolate syrup is perfect for drizzling over the top and around the plate for a dramatic dessert look.
How To Make the Butterfinger Bomb Cake
Making Butterfinger Bomb Cake is easier than it looks. I like to break it into simple stages so each layer comes together smoothly.
Step 1: Bake the Chocolate Cake Layers
Prepare the chocolate cake mix according to the package directions using the eggs, oil, and water. Divide the batter evenly between two greased 9-inch round cake pans and bake until a toothpick inserted in the center comes out clean. Let the cakes cool completely before assembling.
Step 2: Make the Creamy Filling
In a mixing bowl, beat the cream cheese until smooth. Fold in the sweetened condensed milk and whipped topping until the filling is creamy, fluffy, and easy to spread. This layer should feel light but still rich.
Step 3: Crush the Butterfinger Candy
Chop or crush the Butterfinger bars into small chunks. I like using a mix of fine crumbs and bigger pieces so the filling has crunch in every bite without becoming too hard to slice.
Step 4: Build the First Layer
Place one cake layer on a serving plate or cake stand. Spread a thick layer of the cream filling over the top, then drizzle generously with caramel sauce. Sprinkle with crushed Butterfinger pieces so every slice gets plenty of candy crunch.
Step 5: Add the Second Cake Layer
Set the second cake layer gently on top. Press lightly just enough to steady the cake without squeezing out the filling.
Step 6: Frost the Cake
Spread chocolate frosting over the top and sides of the cake. I like to keep the frosting thick and swirled because it gives the finished cake that dramatic homemade look.
Step 7: Finish with Toppings
Drizzle more caramel sauce and chocolate syrup over the top, then scatter extra Butterfinger pieces across the cake. For the prettiest finish, save a few larger chunks for the center.
Step 8: Chill Before Serving
Refrigerate the cake for at least 1 hour before slicing. This helps the layers firm up, makes cleaner slices, and gives the flavors time to settle together.
Serving and Storing Butterfinger Bomb Cake
This cake is rich, so I usually slice it into 10 to 12 servings. It is perfect for feeding a crowd at parties, family dinners, or holiday gatherings where everyone wants a small but satisfying dessert.
For serving, I like it slightly chilled so the layers hold together neatly while the filling stays creamy. A drizzle of extra chocolate syrup or caramel right before serving makes it feel even more special.
To store, keep the cake covered in the refrigerator for up to 4 days. Because of the creamy filling, I do not leave it out at room temperature for long. You can also make it a day ahead, which is honestly one of my favorite ways to serve it because the texture gets even better overnight.
What to Serve With Butterfinger Bomb Cake?
Hot coffee is my favorite pairing because it balances the sweetness of the cake beautifully.
Cold milk is a classic choice and especially good if you want that candy-bar-and-cake combination to feel extra nostalgic.
Vanilla ice cream adds a cool, creamy contrast that turns each slice into a full dessert plate.
Fresh berries bring a little brightness to the table and help cut through the richness.
Frequently Asked Questions
Can I make Butterfinger Bomb Cake ahead of time?
Yes, and I actually think it tastes even better after a few hours in the fridge. Making it ahead gives the filling time to set and helps all the layers come together for cleaner slices.
Can I use homemade chocolate cake instead of cake mix?
Absolutely. If you already have a favorite homemade chocolate cake recipe, it works beautifully here. I use cake mix when I want to save time, but homemade layers will make it feel even more special.
Do I have to use whipped topping in the filling?
No. You can use freshly whipped cream if you prefer. Just make sure it is whipped to stiff peaks so the filling stays light and stable.
Can I freeze Butterfinger Bomb Cake?
Yes, but I recommend freezing individual slices or the assembled cake without the final candy topping for the best texture. Wrap it well and thaw it in the refrigerator before serving.
What other desserts pair well on a dessert table with this cake?
If you are putting together a dessert spread, I love adding treats with different textures and flavors. Something like S’mores Cookie Bars brings a chewy, campfire-style option, while Apple Crisp Cheesecake adds a cozy fruit dessert. For more chocolate lovers, Easy Chocolate Cream Pie or Chocolate Cream Delight fit right in.
Save This Pin For Later
📌 Save this Butterfinger Bomb Cake to your Pinterest dessert board so you can come back to it any time.
And let me know in the comments how yours turned out. Did you go extra heavy on the caramel? Did you add more Butterfinger on top or keep the filling extra creamy?
I always love seeing how these little twists make a dessert feel personal. For even more daily recipe inspiration, visit Life With Rosa.
Conclusion
Butterfinger Bomb Cake is one of those desserts that feels unapologetically fun from the very first slice. It is rich, chocolatey, creamy, crunchy, and perfect when I want something that looks impressive without turning my kitchen upside down.
Whether I am making it for a birthday, a holiday, or just because everyone is craving a serious dessert, this cake never lasts long. Once you cut into those layers of chocolate, caramel, cream, and candy crunch, it is easy to see why.
Print Butterfinger Bomb Cake
- Total Time: 1 hour 55 minutes
- Yield: 12 servings
- Diet: Vegetarian
Description
Butterfinger Bomb Cake is a rich, over-the-top dessert that layers moist chocolate cake with a fluffy cream filling, buttery caramel, and crunchy Butterfinger candy for the ultimate easy recipe. It is perfect for birthday dessert tables, holiday food ideas, dinner ideas, and anytime you want a fun make-ahead treat that feels bakery special without a complicated process.
Ingredients
1 box chocolate cake mix
3 large eggs
1/2 cup vegetable oil
1 cup water
8 oz cream cheese, softened
14 oz sweetened condensed milk
8 oz whipped topping
1 cup caramel sauce
6 Butterfinger candy bars, crushed
16 oz chocolate frosting
2 tbsp chocolate syrup
Instructions
1. Preheat the oven to 350°F and grease two 9-inch round cake pans.
2. In a large bowl, mix the chocolate cake mix, eggs, vegetable oil, and water until smooth.
3. Divide the batter evenly between the prepared pans and bake for 25 to 30 minutes, or until a toothpick inserted in the center comes out clean.
4. Let the cake layers cool completely in the pans for 10 minutes, then transfer them to a wire rack.
5. In a mixing bowl, beat the softened cream cheese until smooth.
6. Fold in the sweetened condensed milk and whipped topping until the filling is creamy and fluffy.
7. Crush the Butterfinger candy bars into small pieces, keeping a mix of crumbs and chunks.
8. Place one cooled cake layer on a serving plate.
9. Spread half of the cream filling over the cake layer.
10. Drizzle half of the caramel sauce over the filling and sprinkle with half of the crushed Butterfinger pieces.
11. Place the second cake layer on top and spread the remaining filling over it if you want an extra thick center, or keep the rest for a light top layer under the frosting.
12. Frost the top and sides of the cake with the chocolate frosting.
13. Drizzle the remaining caramel sauce and chocolate syrup over the top.
14. Finish with the rest of the crushed Butterfinger candy bars.
15. Chill the cake for at least 1 hour before slicing and serving.
Notes
Do not frost or fill the cake until the layers are completely cool, or the filling can loosen and slide, making the cake messy to assemble.
- Prep Time: 25 minutes
- Cook Time: 30 minutes
- Category: Dessert
- Method: Baking
- Cuisine: American
Nutrition
- Serving Size: 1 slice
- Calories: 620
- Sugar: 52g
- Sodium: 430mg
- Fat: 32g
- Saturated Fat: 14g
- Unsaturated Fat: 15g
- Trans Fat: 0g
- Carbohydrates: 79g
- Fiber: 2g
- Protein: 7g
- Cholesterol: 85mg
Keywords: Butterfinger Bomb Cake, chocolate cake, candy bar cake, easy dessert, holiday dessert, birthday cake, make-ahead dessert, food ideas, dinner ideas, easy recipe