 Rosa Martinez
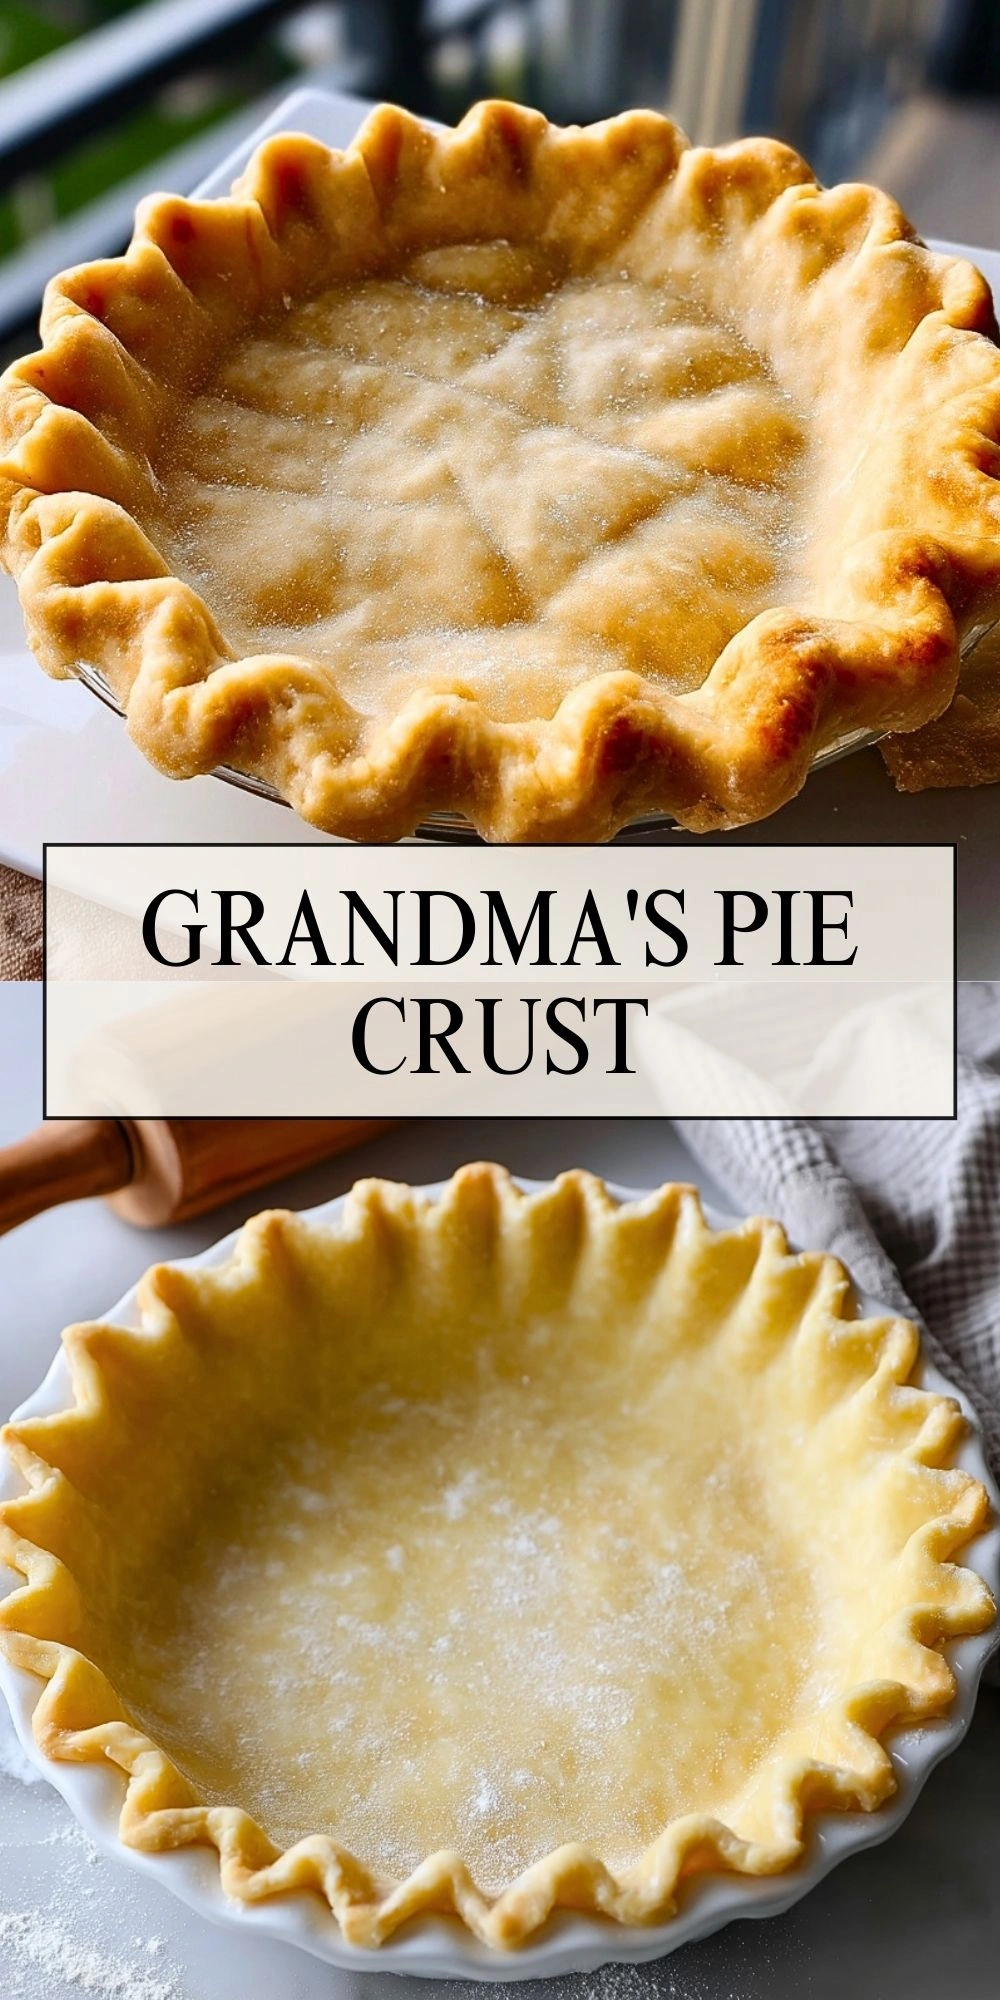
There’s a special kind of magic in a homemade pie crust—especially when it’s Grandma’s recipe. Flaky, buttery, and perfectly tender, this classic pie crust is the golden foundation for every kind of pie, whether sweet or savory. Making pie dough from scratch can feel intimidating, but once you experience how easy and satisfying it is to work with this dough, you’ll never want to go back to store-bought.

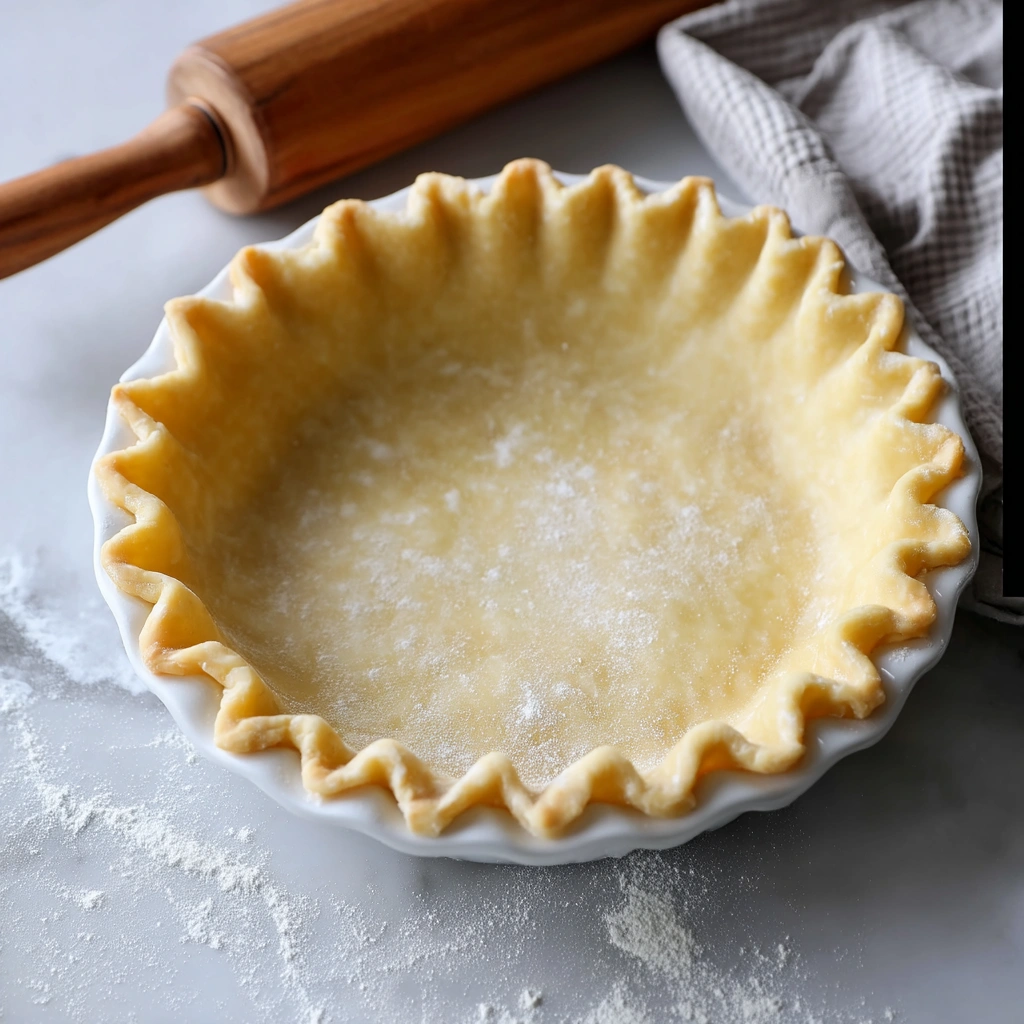
This pie crust comes together with just a few simple pantry staples and a bit of love. The result? A dough that’s easy to roll, shapes beautifully in the pan, and bakes up into a golden, shatteringly crisp crust every single time. Whether you’re filling it with apples, pumpkin, pecans, or a savory quiche, Grandma’s Pie Crust always delivers on flavor and texture.
Why You’ll Love This Pie Crust
You’ll love this pie crust for its fail-proof flakiness, deep buttery flavor, and versatility. The method requires no special equipment beyond a bowl, fork, and rolling pin. You can make it ahead, freeze it, or even par-bake it for cream or custard pies. Plus, the recipe is endlessly adaptable—swap butter for shortening, use a gluten-free flour blend, or flavor it with a touch of sugar for sweet pies.
What Kind of Fat Should I Use in Pie Crust?
Great question! The fat you use—whether all butter, all shortening, lard, or a blend—will change the crust’s texture and taste. Butter brings the best flavor and lovely layers, shortening or lard makes it ultra-tender and sturdy. For most home bakers, unsalted butter is the go-to for its rich, familiar taste and reliable results. Chill your fat well before using for the flakiest pie crust.
Ingredients for Grandma’s Pie Crust
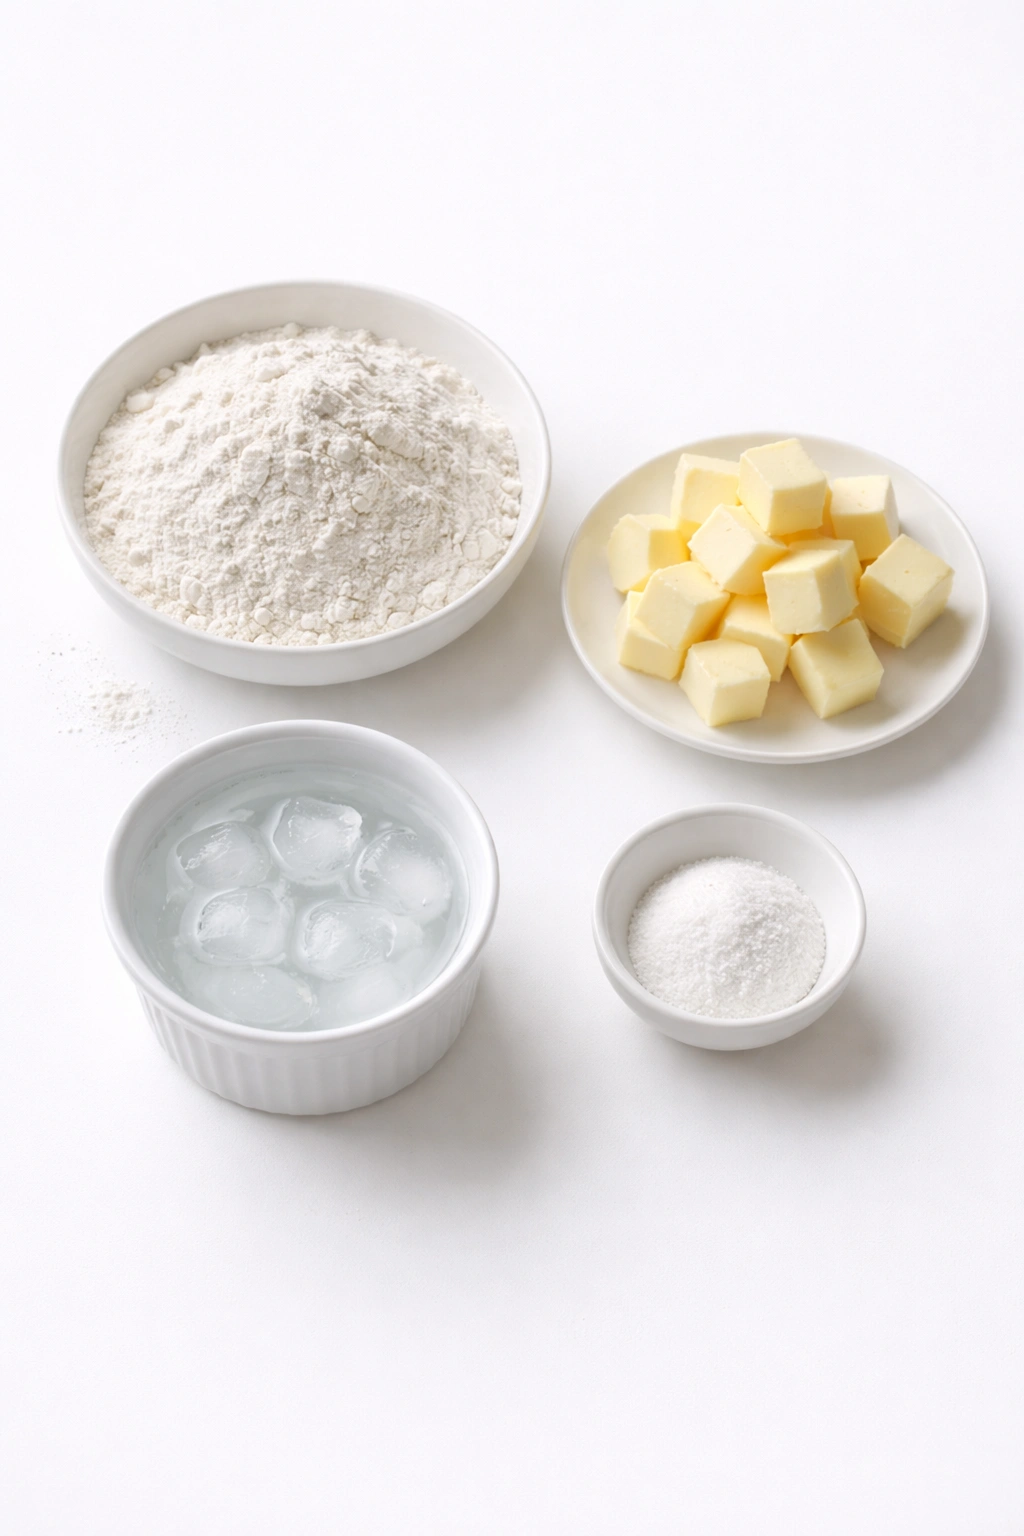
Every ingredient in this recipe has a role to play in creating the perfect pie crust. You only need a few, but the quality and temperature matter!
- All-Purpose Flour
The base of the crust, giving it structure and that classic tender bite. Make sure to fluff and spoon it into your cup for the most accurate measurement. - Unsalted Butter, Cold and Cubed
Cold butter is the secret to flaky layers and rich flavor. Work it in quickly so the butter stays cold and visible in the dough. - Salt
Just enough to enhance flavor and balance the richness of the butter. - Ice Water
Ice-cold water helps the dough come together without melting the butter. Add just enough so the dough holds when pressed.
Optional: For a sweeter pie, add 1 teaspoon sugar to the flour.
How To Make Grandma’s Pie Crust
Step 1: Combine Dry Ingredients
In a large bowl, whisk together 1 1/4 cups all-purpose flour and 1/2 teaspoon salt. (If making a sweet pie, whisk in 1 teaspoon sugar.)
Step 2: Cut in the Butter
Add 1/2 cup (1 stick) cold unsalted butter, cubed. Use a pastry cutter or fork to cut the butter into the flour until the mixture looks like coarse crumbs with some pea-sized pieces of butter remaining.
Step 3: Add Ice Water
Sprinkle 3–4 tablespoons ice water over the flour-butter mixture. Toss gently with a fork until the dough just starts to come together. If it’s still too dry, add more ice water 1 teaspoon at a time until the dough holds together when pressed.
Step 4: Shape and Chill
Turn the dough out onto a lightly floured surface. Gather it into a disk, wrap in plastic, and chill in the refrigerator for at least 1 hour (or up to 2 days).
Step 5: Roll Out and Fit Into Pie Pan
Roll the chilled dough out into a 12-inch circle about 1/8 inch thick. Fit into a 9-inch pie plate, trim excess dough, and crimp the edges as desired. Chill again for 20 minutes before filling or baking.
Step 6: Bake as Needed
For a filled pie, add your filling and bake as the recipe directs. For a blind-baked shell (for cream pies), line with parchment and fill with pie weights, then bake at 425°F (220°C) for 15 minutes, remove weights, and bake 10 minutes more until golden.
Serving and Storing Grandma’s Pie Crust
This recipe yields 1 single 9-inch pie crust, perfect for most standard pie recipes. It serves 8 people as a typical pie is sliced into 8 wedges. If you need a double crust for a lattice or covered pie, simply double the ingredients.
Store unbaked pie dough tightly wrapped in the fridge for up to 2 days, or freeze for up to 3 months. Baked pie shells keep at room temperature for 2 days, or can be frozen for longer storage.
What to Serve With Grandma’s Pie Crust?
1. Classic Apple Pie Filling
A must-try for autumn baking—spiced apples turn this crust into an unforgettable dessert.
2. Pumpkin Pie
A holiday favorite with silky spiced filling nestled in a crisp, golden crust.
3. Chicken Pot Pie
Turn the crust savory and fill with creamy chicken and vegetables for the ultimate comfort food.
4. Chocolate Cream Pie
Blind bake the crust and fill with rich chocolate pudding for a decadent treat.
5. Quiche Lorraine
This crust makes an incredible base for savory breakfast pies or quiches.
6. Fresh Berry Galette
Rustic and easy, just fold over the edges around juicy summer berries.
7. Lemon Meringue Pie
The buttery base stands up beautifully to tart lemon curd and pillowy meringue.
Frequently Asked Questions
1. Can I use salted butter?
Yes, you can use salted butter. Just reduce the added salt in the recipe to 1/4 teaspoon to avoid an overly salty crust.
2. Why is my pie crust tough?
A tough crust usually means too much water or overworking the dough. Use a gentle touch and add water only until the dough comes together.
3. Can I freeze the dough?
Absolutely! Wrap the dough disk tightly and freeze for up to 3 months. Thaw overnight in the fridge before using.
4. How do I prevent a soggy bottom crust?
For fruit or custard pies, par-bake (blind bake) the crust first. You can also brush the bottom with egg white before adding the filling to create a moisture barrier.
5. Can I make this gluten-free?
Yes! Substitute your favorite 1-to-1 gluten-free flour blend for the all-purpose flour. Check that your blend contains xanthan gum for best results.
Save This Pin For Later
📌 Save this recipe to your Pinterest dessert board so you can come back to it any time.
And let me know in the comments how yours turned out! Did you use all butter, or try a mix with shortening? Did you decorate the edges or go rustic? I love hearing how others make these recipes their own. Questions are welcome too—let’s help each other bake smarter.
For more pie inspiration and daily baking ideas, visit my Michelle Recipes | LadySavory Pinterest page.
Conclusion
There’s just something special about making a pie crust from scratch—especially with Grandma’s trusted method. It’s flaky, flavorful, and works for every kind of pie, from fruit to cream to savory. Once you try this recipe, it’s sure to become your go-to foundation for every pie adventure. Happy baking!
Internal Links:
- Heaven in a Bowl
- Simple Pecan Pie Bars
- Homemade Raspberry and Cream Angel Food Cake
- Best Mashed Potatoes
Grandma’s Pie Crust
- Total Time: 40 minutes (active), plus chilling
- Yield: 1 (9-inch) single pie crust
- Diet: Vegetarian
Description
Make your baking memorable with this classic Grandma’s Pie Crust recipe—flaky, buttery, and easy to roll out. This easy pie crust is perfect for quick breakfast ideas, easy dinner recipes, and all your favorite sweet or savory pies. It’s a must-have for homemade food ideas and a great basic for healthy snacks or special dinner ideas. With just a handful of pantry staples, you can master this versatile, easy recipe for any occasion.
Ingredients
1 1/4 cups all-purpose flour
1/2 teaspoon salt
1/2 cup unsalted butter, cold and cubed
3–4 tablespoons ice water
Instructions
1. In a large bowl, whisk together the flour and salt. (Add 1 teaspoon sugar here for sweet pies if desired.)
2. Add the cold, cubed butter and cut it into the flour with a pastry cutter or fork until the mixture resembles coarse crumbs with some pea-sized pieces remaining.
3. Sprinkle 3 tablespoons ice water over the mixture. Toss gently with a fork, adding more ice water 1 teaspoon at a time until the dough just comes together when pressed.
4. Turn the dough onto a floured surface, gather into a disk, and wrap in plastic. Chill for at least 1 hour.
5. Roll the chilled dough into a 12-inch circle, about 1/8 inch thick. Fit into a 9-inch pie pan, trim, and crimp the edges.
6. Chill the crust in the pan for 20 minutes before filling or baking.
7. For a blind-baked shell, line with parchment and pie weights. Bake at 425°F (220°C) for 15 minutes, remove weights, and bake 10 more minutes until golden. Fill as desired.
Notes
For best results, keep all ingredients cold and avoid overworking the dough.
The dough can be frozen for up to 3 months—thaw overnight before using.
Add a teaspoon of sugar for a slightly sweet crust that pairs beautifully with fruit pies.
- Prep Time: 15 minutes (plus chilling)
- Cook Time: 25 minutes (if blind baking)
- Category: Baking, Pie, Dessert, Basics
- Method: Baked
- Cuisine: American
Nutrition
- Serving Size: 1/8 of crust (based on 8 slices per pie)
- Calories: 180 per serving
- Sugar: 0g
- Sodium: 150mg
- Fat: 12g
- Saturated Fat: 7g
- Unsaturated Fat: 4g
- Trans Fat: 0g
- Carbohydrates: 16g
- Fiber: 0.5g
- Protein: 2g
- Cholesterol: 31mg
Keywords: pie crust, homemade, flaky, easy recipe, baking, dessert