 Rosa Martinez
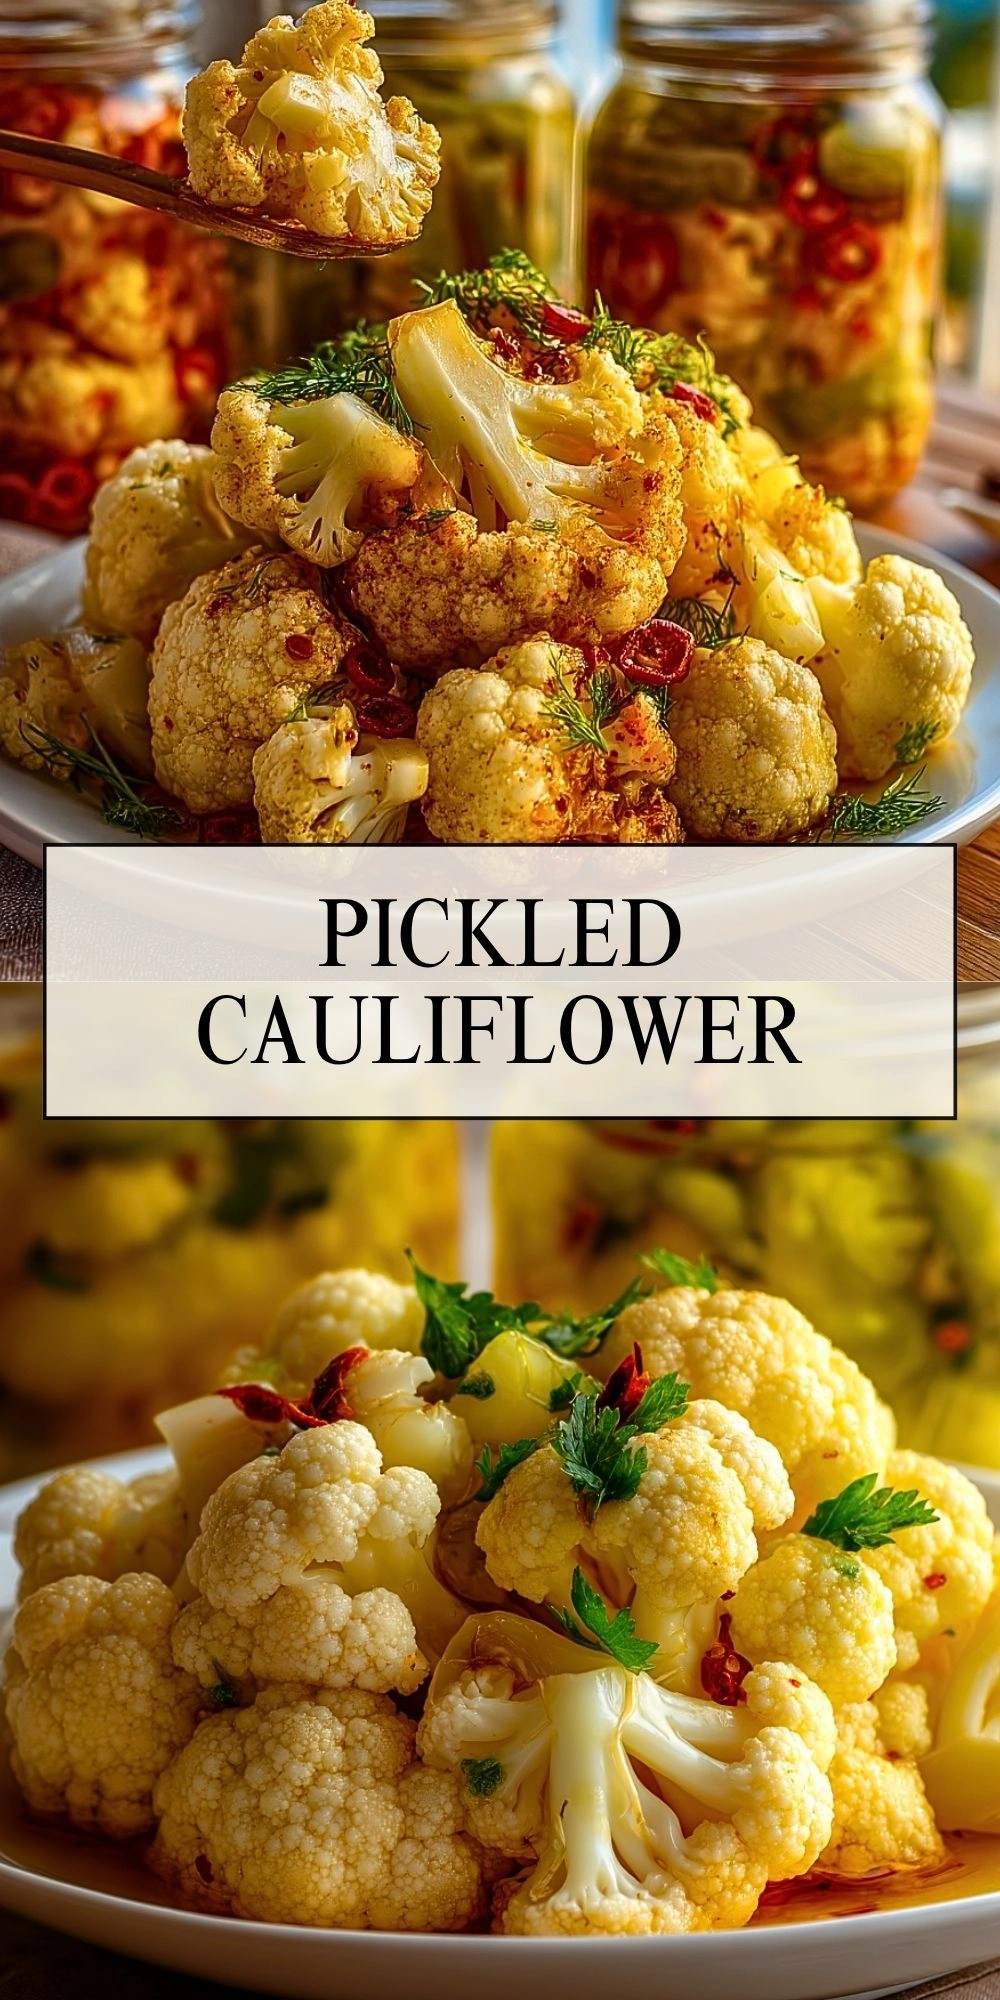
I love having a jar of pickled cauliflower in the fridge because it instantly wakes up a meal. The florets stay crisp-tender, the brine is tangy and bright, and every bite has that little kick of spice that makes simple food feel exciting.

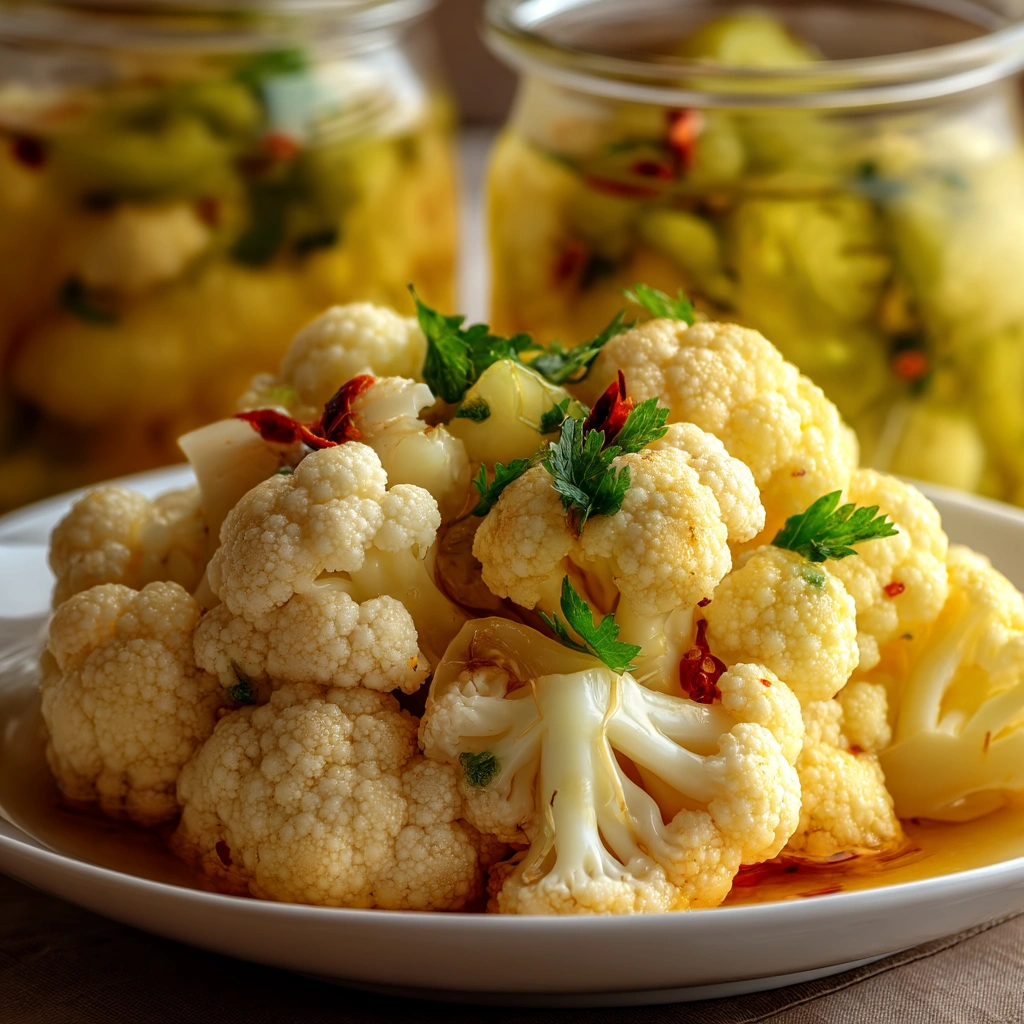
This is one of those old-fashioned, practical kitchen recipes I come back to again and again. It is easy to make, budget-friendly, and perfect for anyone who wants a homemade pickle that works on snack boards, sandwiches, salads, and dinner plates.
Why You’ll Love This Pickled Cauliflower
I make this pickled cauliflower when I want something crunchy, colorful, and full of flavor without spending all afternoon in the kitchen. It keeps well, tastes even better after a day or two, and turns an ordinary vegetable into something I actually crave. I also love that I can adjust the heat level depending on who I am serving.
- It has a crisp, zesty flavor
- It is easy to prepare with simple pantry ingredients
- It keeps well in the refrigerator
- It adds brightness to sandwiches, bowls, and charcuterie boards
- It is naturally vegetarian and easy to customize
What Makes Pickled Cauliflower So Good?
For me, the magic is in the contrast. Cauliflower is mild and slightly nutty on its own, so it takes on the flavor of the brine beautifully. Once it sits in vinegar with garlic, spices, and a touch of heat, it becomes bold, punchy, and anything but boring. The texture is just as important too. I like it best when the florets are tender enough to bite through easily but still have plenty of crunch.
Ingredients for the Pickled Cauliflower
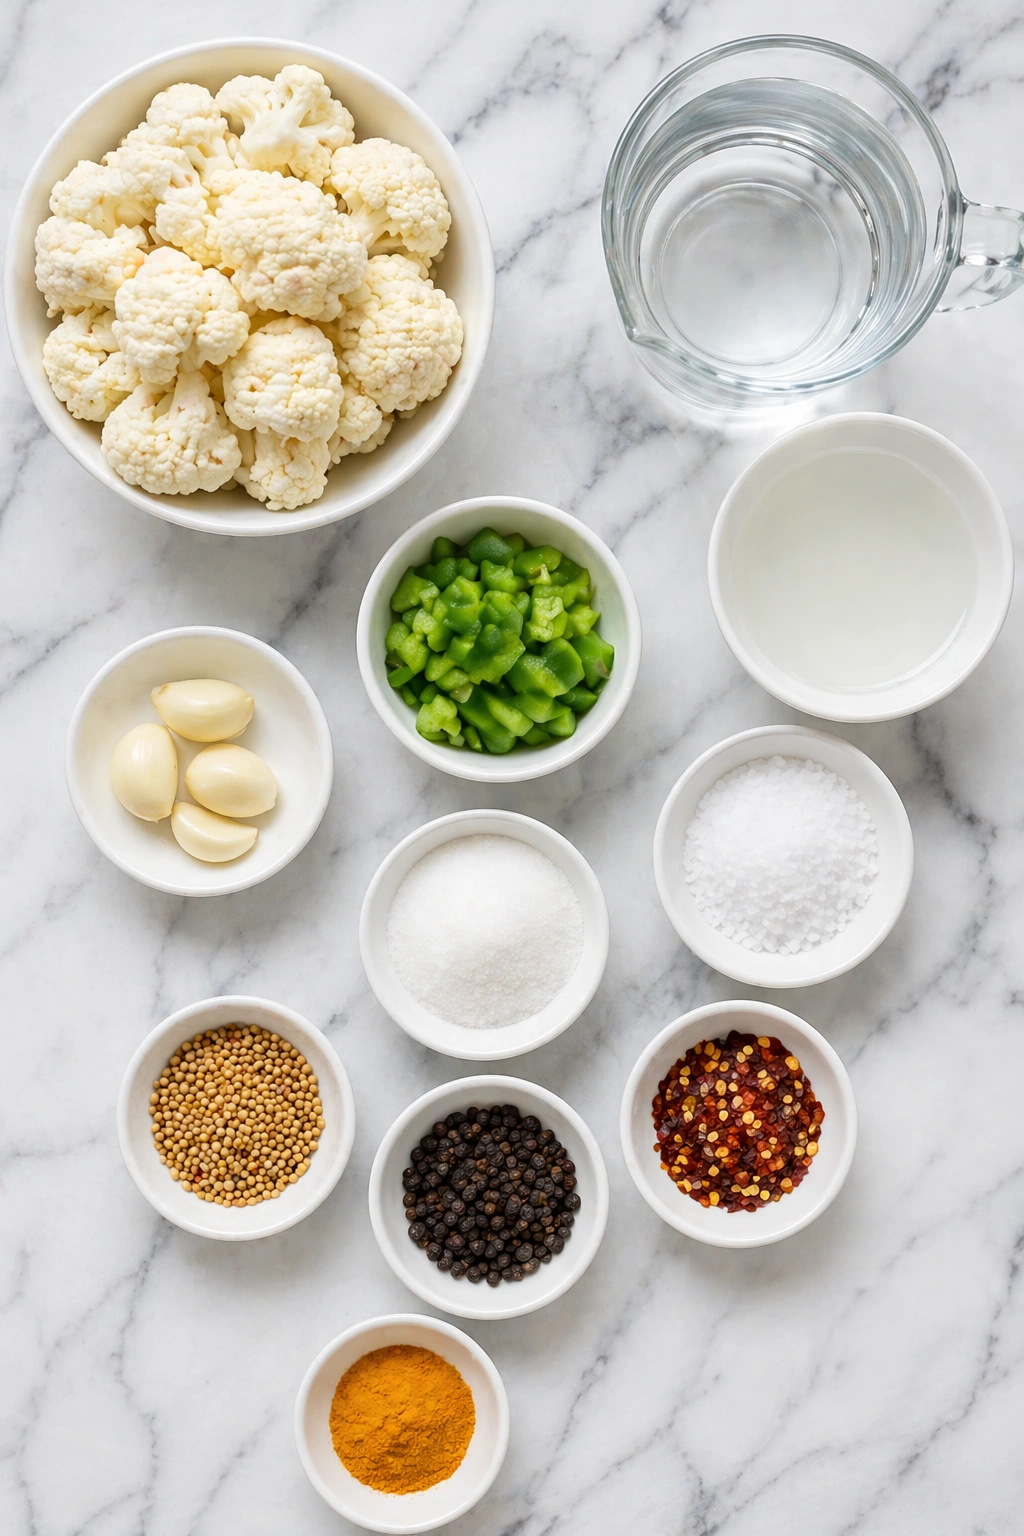
The beauty of this recipe is that each ingredient has a clear job to do. Together they build a brine that is sharp, savory, balanced, and packed with flavor.
- Cauliflower: This is the star of the jar. I use fresh cauliflower because it stays crisp and absorbs the pickling liquid so well.
- Water: Water helps balance the intensity of the vinegar so the brine does not taste too harsh.
- White vinegar: This gives the pickled cauliflower its signature tangy bite and helps preserve the vegetables.
- Salt: Salt seasons the brine and brings all the flavors together.
- Sugar: A small amount smooths out the acidity and gives the brine better balance.
- Garlic cloves: Garlic adds a savory depth that makes the cauliflower taste more complex.
- Mustard seeds: These bring a classic pickled flavor and a gentle earthy note.
- Black peppercorns: I use these for a little warmth and subtle spice in the background.
- Red pepper flakes: These give the jars a mild heat and make the flavor more lively.
- Turmeric: Turmeric adds warm flavor and gives the cauliflower that beautiful golden tint.
- Optional green peppers or celery: I like adding a few extra vegetables for color, crunch, and variety in the jar.
How To Make the Pickled Cauliflower
This recipe comes together in a few simple steps, and once the jars are filled, the refrigerator does most of the work. I like to let the flavors settle for at least a full day before digging in.
Step 1: Prep the Cauliflower
Wash the cauliflower well and cut it into bite-sized florets. Try to keep the pieces fairly even so they pickle at the same rate. If I am using peppers or celery, I slice those now too.
Step 2: Pack the Jars
Divide the cauliflower between clean jars. Tuck in the garlic cloves, and if you want extra vegetables, add them in between the florets. I like packing the jars snugly without crushing anything.
Step 3: Make the Brine
In a saucepan, combine the water, white vinegar, salt, sugar, mustard seeds, black peppercorns, red pepper flakes, and turmeric. Bring the mixture to a gentle boil, stirring until the salt and sugar dissolve.
Step 4: Pour and Cover
Carefully pour the hot brine over the cauliflower, making sure the florets are fully covered. Leave a little space at the top of each jar. Let the jars cool to room temperature before sealing.
Step 5: Chill and Pickle
Transfer the jars to the refrigerator and let them sit for at least 24 hours. I think the flavor gets even better after 2 to 3 days, when the brine really sinks into the cauliflower.
Step 6: Serve and Enjoy
Once the cauliflower is nicely pickled, serve it cold straight from the jar. I love it as a snack, a side dish, or part of a bigger spread.
Serving and Storing Pickled Cauliflower
This recipe makes about 2 medium jars and feeds around 6 people as a side or snack. I usually serve it chilled, either on a small plate with sandwiches or added to an appetizer board with cheese, crackers, olives, and cured meats.
For storing, I keep the jars in the refrigerator and use them within 2 to 3 weeks for the best flavor and texture. Always use a clean fork or spoon to remove the cauliflower so the brine stays fresh longer.
What to Serve With Pickled Cauliflower?
I love serving this with foods that need a little contrast. The acidity cuts through rich dishes and adds brightness to simple meals.
- Sandwiches and wraps: The tangy crunch is perfect with deli sandwiches, grilled paninis, or wraps.
- Cheese boards: Pickled cauliflower fits beautifully next to crackers, cheeses, olives, and nuts.
- Roasted meats: It adds a sharp, fresh bite alongside chicken, beef, or sausage.
- Grain bowls and salads: A few florets can wake up a rice bowl, pasta salad, or green salad in the best way.
Frequently Asked Questions
Can I use colored cauliflower for this recipe?
Yes, absolutely. Purple, orange, or green cauliflower all work well here. I love mixing colors when I want the jars to look extra pretty. Just keep in mind that some shades may soften or tint the brine a bit differently.
Do I need to cook the cauliflower first?
No, I usually do not fully cook it. The hot brine softens it slightly while helping it keep a nice crunch. If you prefer a more tender texture, you can blanch the florets for about 1 minute before packing the jars.
How long does pickled cauliflower need before it is ready?
It is technically good after 24 hours, but I think it really hits its stride after 48 to 72 hours. That extra time gives the cauliflower a deeper, fuller flavor.
Is this meant for shelf-stable canning?
This version is best treated as a refrigerator pickle. I keep it chilled and enjoy it within a couple of weeks. For shelf-stable canning, it is important to follow a tested canning method made specifically for safe preservation.
How can I use leftover pickling brine?
I like using a little of the leftover brine in salad dressings, spooning it into grain bowls, or pouring it over sliced onions for a quick pickle. It can also add a nice kick to potato salad or chopped vegetable salads. If you enjoy bold vegetable sides, you might also like my Roasted Brussels Sprouts, Crispy Garlic Air Fryer Broccoli, Garlic Butter Sauteed Green Beans and Mushrooms, or Healthy Zucchini Fritters.
Save This Pin For Later
📌 Save this pickled cauliflower to your Pinterest appetizer or homemade pickle board so you can come back to it any time.
And let me know in the comments how yours turned out. Did you keep it mild or add extra chili flakes? Did you pack in extra vegetables like celery or peppers?
I love hearing how others make these recipes their own. Questions are welcome too, and for more daily recipe inspiration, visit Life With Rosa.
Conclusion
Pickled cauliflower is one of those simple recipes that gives back far more than the effort it takes. I love how easy it is to make, how beautiful it looks in the jar, and how it adds bold flavor to everyday meals. Once I have a batch chilling in the fridge, I find excuses to add it to everything.
Print Pickled Cauliflower
- Total Time: 20 minutes plus chilling
- Yield: 6 servings
- Diet: Vegetarian
Description
This pickled cauliflower is a crisp, tangy, easy recipe that adds bold flavor to snack boards, sandwiches, and simple dinner ideas. I love making it as a healthy snack, quick appetizer, and meal-prep favorite because it is bright, crunchy, and packed with pickled vegetable flavor using simple pantry staples.
Ingredients
1 medium head cauliflower, cut into florets
2 cups water
2 cups white vinegar
1 tablespoon kosher salt
1 tablespoon sugar
3 garlic cloves, smashed
1 teaspoon mustard seeds
1 teaspoon black peppercorns
1 teaspoon red pepper flakes
1 teaspoon turmeric
1 small green bell pepper, chopped
Instructions
1. Wash the cauliflower well and cut it into bite-sized florets.
2. Divide the cauliflower and green bell pepper between 2 clean jars, then add the garlic cloves.
3. In a saucepan, combine the water, white vinegar, salt, sugar, mustard seeds, black peppercorns, red pepper flakes, and turmeric.
4. Bring the brine to a gentle boil and stir until the salt and sugar dissolve completely.
5. Carefully pour the hot brine over the vegetables until fully covered.
6. Let the jars cool to room temperature, then seal and refrigerate.
7. Chill for at least 24 hours before serving for the best flavor.
Notes
Do not overcook the brine or blanch the cauliflower too long, or the florets can lose the crisp texture that makes this recipe so good.
- Prep Time: 15 minutes
- Cook Time: 5 minutes
- Category: Appetizer / Side Dish
- Method: Refrigerator Pickling
- Cuisine: American
Nutrition
- Serving Size: 1 serving
- Calories: 45
- Sugar: 3g
- Sodium: 590mg
- Fat: 0g
- Saturated Fat: 0g
- Unsaturated Fat: 0g
- Trans Fat: 0g
- Carbohydrates: 9g
- Fiber: 2g
- Protein: 2g
- Cholesterol: 0mg
Keywords: pickled cauliflower, refrigerator pickles, easy recipe, healthy snack, quick appetizer, pickled vegetables, meal prep, food ideas