 Rosa Martinez
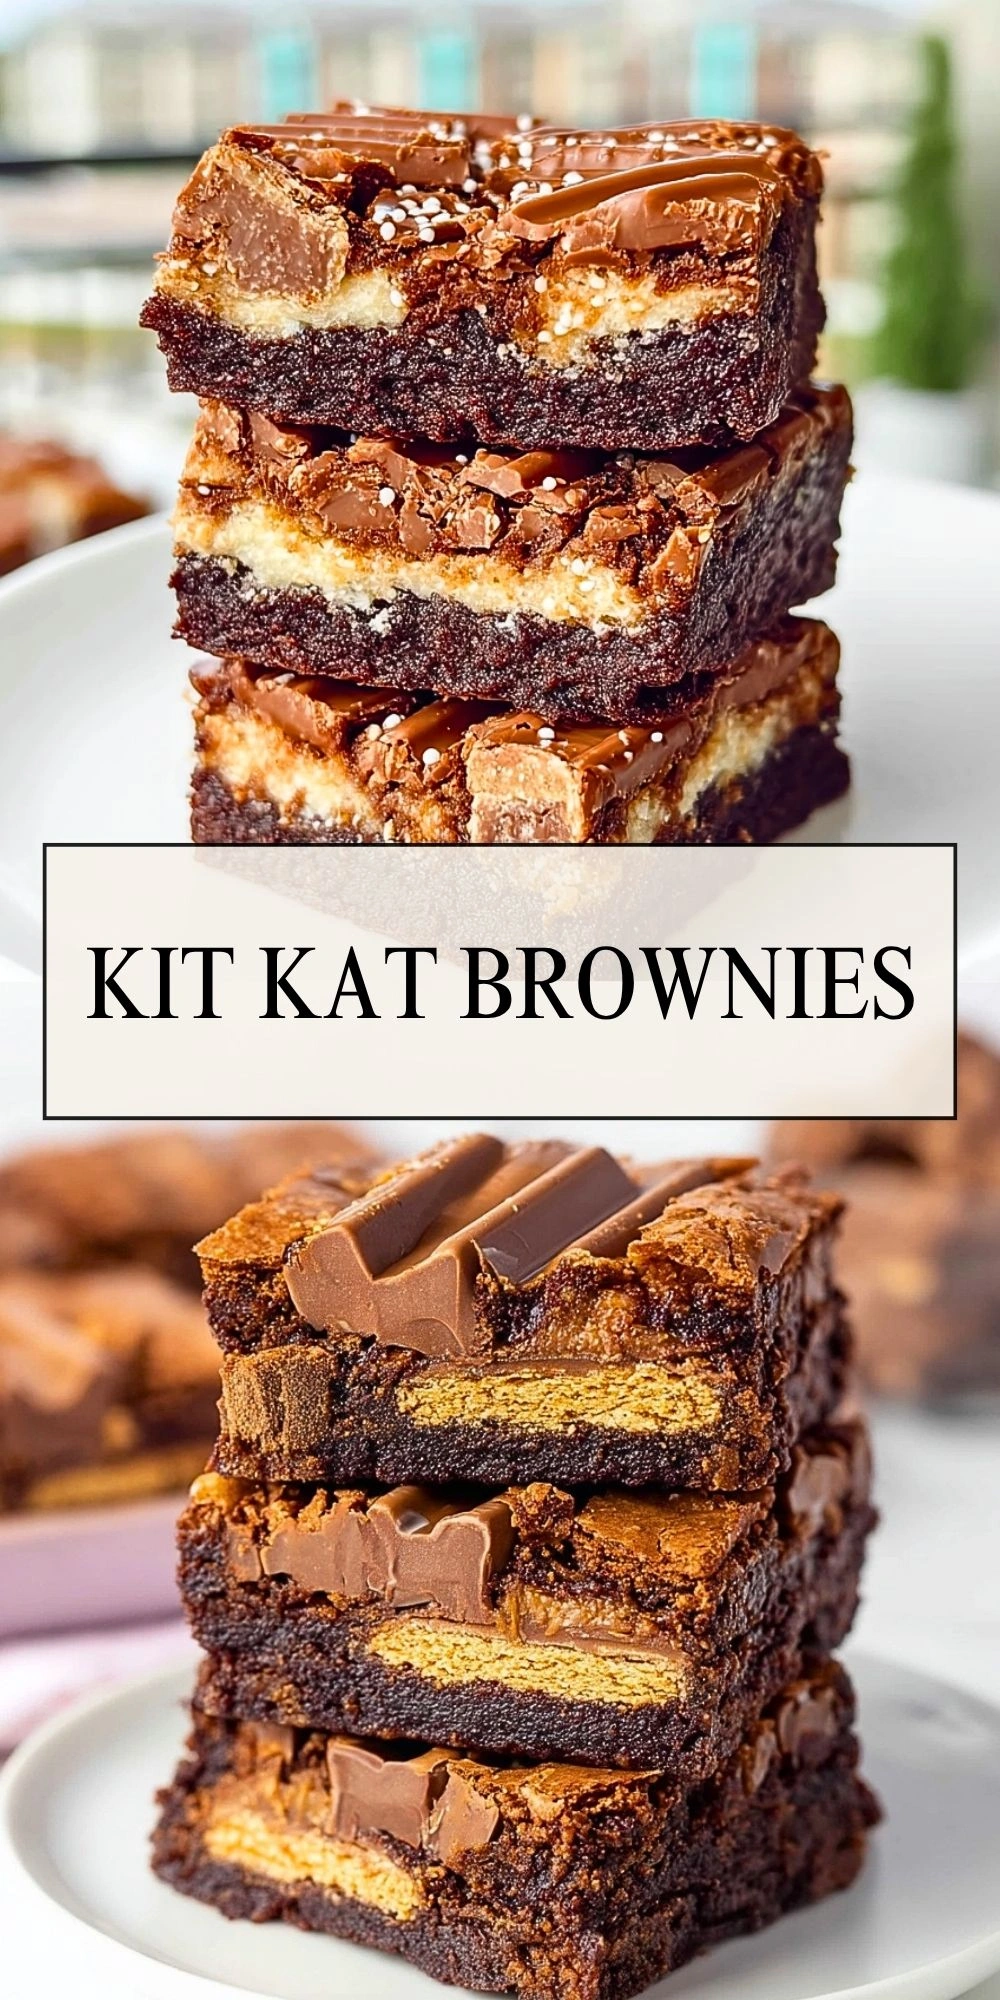
I love a dessert that looks bakery-worthy but feels totally doable in my own kitchen, and these Kit Kat Brownies are exactly that kind of treat. They bake up rich, fudgy, and deeply chocolatey, with crisp-edged tops and thick layers of crunchy Kit Kat pieces tucked right into every bite.

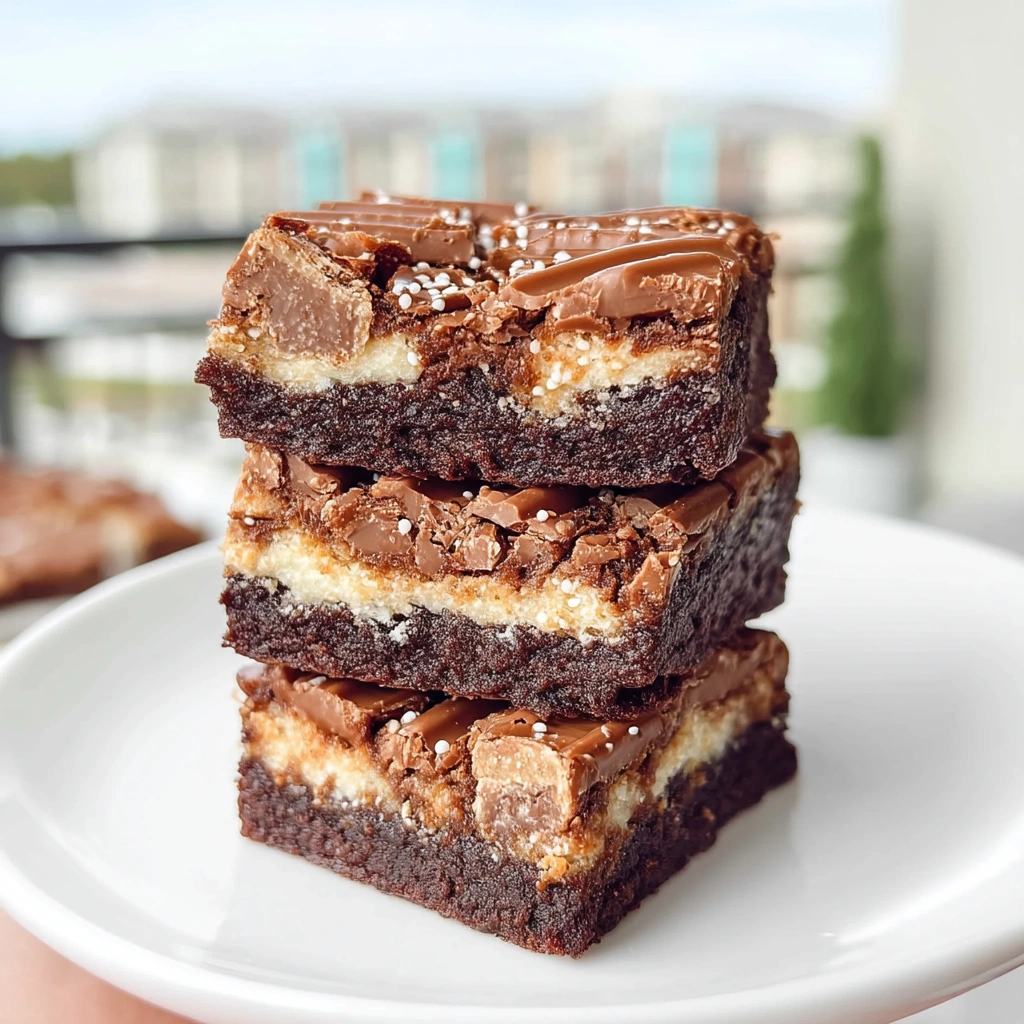
What makes these brownies so fun is the contrast. The brownie batter stays soft and dense, while the candy bars bring that light wafer crunch and extra milk chocolate sweetness. Every square feels a little over-the-top in the best way, which is why I keep coming back to this recipe when I want something easy, crowd-pleasing, and impossible to ignore on a dessert table.
Why You’ll Love This Kit Kat Brownies
I love making these Kit Kat Brownies when I need a dessert that gets attention fast. The batter is simple, the flavor is bold, and the candy bars turn an ordinary pan of brownies into something that feels extra special. They are perfect for bake sales, birthday trays, movie nights, or those days when I just want a seriously chocolatey dessert waiting in the kitchen.
Another reason I keep this one in rotation is how easy it is to adapt. I can use full-size Kit Kats broken into chunks, snack-size bars, or even add a few extra pieces over the top before baking. The result is a brownie that looks impressive without asking for complicated steps.
What Makes Kit Kat Brownies So Good?
For me, it comes down to texture. A good brownie should be rich and chewy, but the Kit Kat pieces add a delicate crunch from the wafer layers that makes each bite more interesting. The milk chocolate coating melts into the batter slightly, while the wafers stay distinct enough to give the bars their signature layered look.
That combination of fudgy brownie base and crisp candy bar center is what makes this recipe stand out from a standard chocolate brownie. It feels nostalgic, fun, and just indulgent enough to make people ask for the recipe after the first bite.
Ingredients for the Kit Kat Brownies
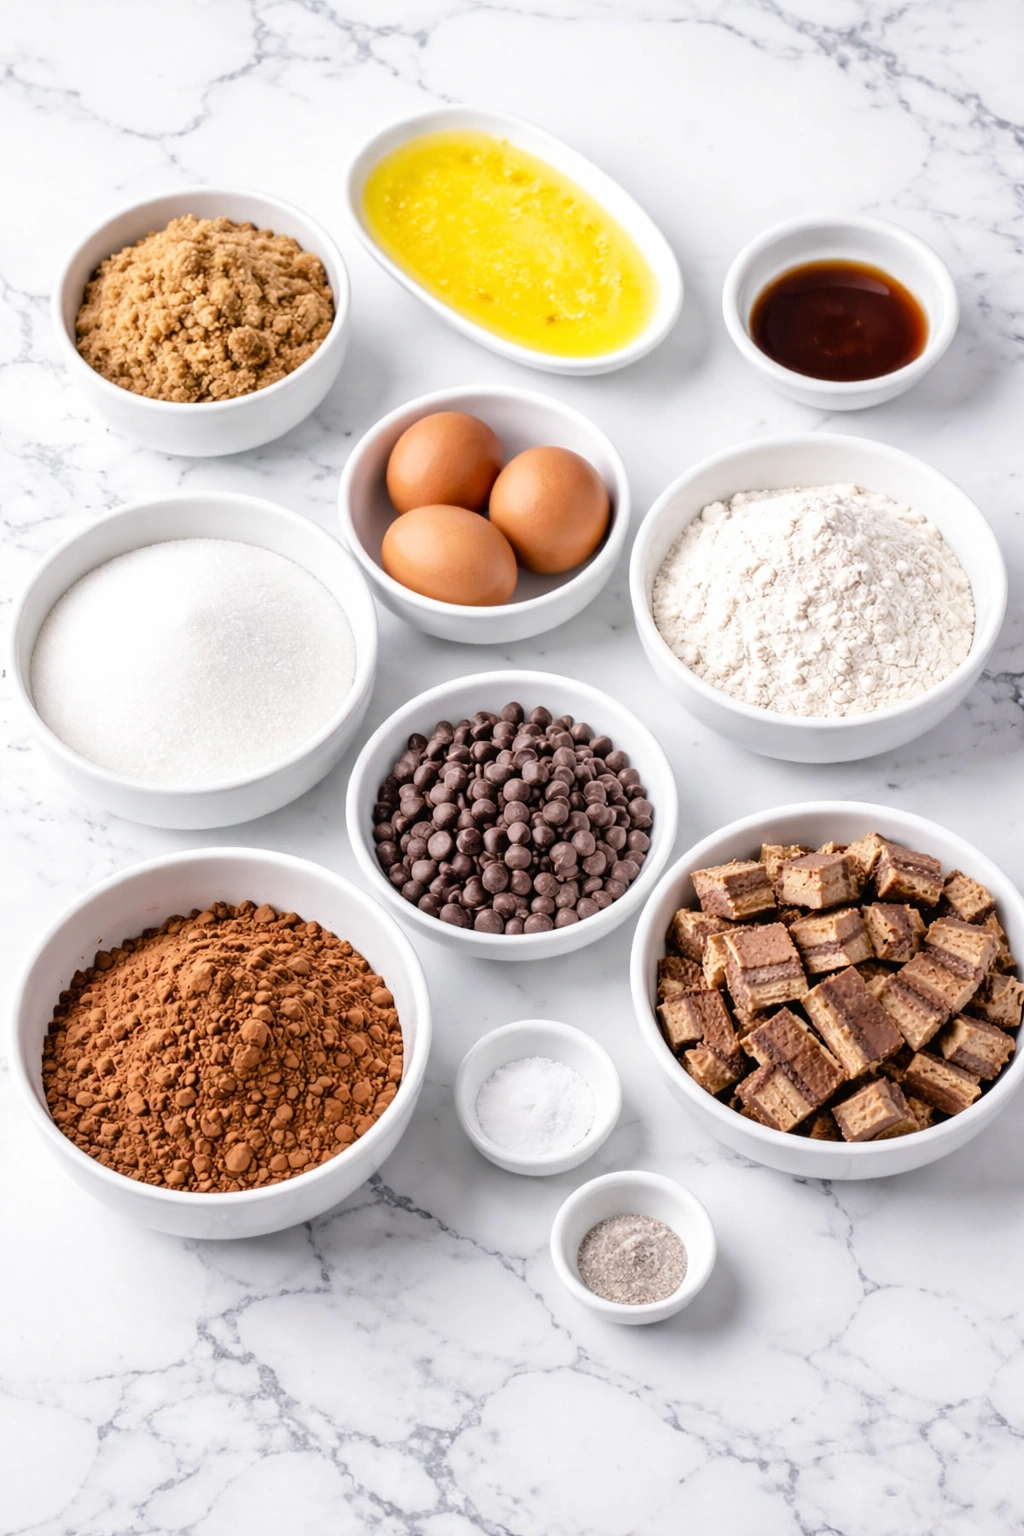
The ingredient list is simple, but every item plays an important role in creating that dense, chocolatey brownie texture with plenty of candy bar crunch.
Butter
I use melted butter to give the brownies richness and that classic fudgy texture.
Granulated sugar
Sugar sweetens the batter and helps create that shiny, delicate top.
Brown sugar
I like adding brown sugar for extra moisture and a deeper caramel-like sweetness.
Eggs
Eggs hold everything together and give the brownies structure while keeping them chewy.
Vanilla extract
A little vanilla rounds out the chocolate flavor and makes the whole pan taste warmer and more balanced.
Unsweetened cocoa powder
This is what gives the brownies their deep chocolate base and rich color.
All-purpose flour
Flour provides structure without making the brownies cakey when used in the right amount.
Salt
Salt sharpens the chocolate flavor and keeps the sweetness from feeling flat.
Semi-sweet chocolate chips
I like folding these in for extra melted pockets of chocolate throughout the brownies.
Kit Kat bars
These are the star ingredient, adding that signature wafer crunch and sweet milk chocolate finish.
How To Make the Kit Kat Brownies
This recipe comes together with basic pantry ingredients and a few simple steps. I like to line the pan first so lifting out the brownies later is easy and clean.
Step 1: Prep the Pan
I start by preheating the oven to 350°F and lining an 8×8-inch baking pan with parchment paper. That makes it much easier to remove the brownies and slice them neatly once cooled.
Step 2: Mix the Wet Ingredients
In a large bowl, I whisk together the melted butter, granulated sugar, and brown sugar until the mixture looks glossy. Then I add the eggs and vanilla extract, whisking until smooth and fully combined.
Step 3: Add the Dry Ingredients
I sift in the cocoa powder, flour, and salt, then gently fold everything together just until no dry streaks remain. I try not to overmix here because that can change the texture.
Step 4: Fold in Chocolate and Kit Kats
Next, I stir in the chocolate chips and most of the chopped Kit Kat pieces. I save a small handful for the top so the finished brownies look extra loaded.
Step 5: Fill the Pan
I spread the batter evenly into the prepared pan, then press the remaining Kit Kat pieces over the top. Some pieces sink slightly as they bake, which gives the brownies that thick, layered look.
Step 6: Bake and Cool
I bake the brownies for 30 to 35 minutes, until the edges are set and the center still looks slightly soft. After baking, I let the pan cool completely before slicing so the bars hold together nicely.
Serving and Storing Kit Kat Brownies
These brownies are rich enough that small squares go a long way, and one 8×8-inch pan usually feeds about 9 people generously or up to 12 if I cut them into smaller dessert bars.
I like serving them at room temperature for the best balance of fudgy texture and crisp candy pieces. For an extra indulgent dessert, I sometimes warm a square for a few seconds and serve it with vanilla ice cream or a drizzle of chocolate sauce.
To store them, I keep the brownies in an airtight container at room temperature for up to 3 days. If I want them to last longer, I refrigerate them for up to 1 week. They also freeze well, and I usually wrap individual squares so I can pull one out whenever a chocolate craving hits.
What to Serve With Kit Kat Brownies?
1. Vanilla ice cream
The cold, creamy texture is perfect against a warm or room-temperature brownie.
2. Hot coffee
A bold cup of coffee balances the sweetness and makes these brownies feel like a coffee shop treat.
3. Fresh strawberries
A little fruit on the side adds freshness and cuts through the richness.
4. Whipped cream
A spoonful of lightly sweetened whipped cream keeps the dessert simple but extra special.
Frequently Asked Questions
Can I use a boxed brownie mix instead of making the batter from scratch?
Yes, I can absolutely use a boxed mix when I want to save time. I simply prepare the brownie batter according to the package directions, then fold in chopped Kit Kat pieces before baking. It will taste a little different from a scratch-made version, but it still turns out delicious.
Do Kit Kat bars stay crunchy after baking?
They keep some crunch, especially from the wafer layers, though the chocolate coating softens a bit in the oven. Once the brownies cool, the texture settles and the candy pieces become one of the best parts of the bars.
Can I make these brownies ahead of time?
Yes, and I actually think they are even better once they have fully cooled and rested. I often bake them a day ahead, then slice them the next day for cleaner edges and a more settled texture.
What is the best way to cut clean brownie squares?
I let the brownies cool completely first, then chill them for a short time if needed. Using a sharp knife wiped clean between cuts helps me get those neat layers without dragging melted chocolate across the top.
Can I add other candy or toppings too?
Definitely. I sometimes mix in extra chocolate chunks or pair these with ideas inspired by my S’mores Cookie Bars, Simple Pecan Pie Bars, Easy Chocolate Cream Pie, or Chocolate Cream Delight when I want an even more dessert-table-friendly spread.
Save This Pin For Later
📌 Save this recipe to your Pinterest dessert board so you can come back to it any time.
And let me know in the comments how yours turned out. Did you add extra Kit Kat pieces on top? Did you keep them super fudgy or bake them a little longer for a firmer bite?
I love hearing how others make these recipes their own. Questions are welcome too, and for more daily recipe inspiration, visit Life With Rosa.
Conclusion
These Kit Kat Brownies are one of my favorite ways to turn a classic brownie into something a little more playful and memorable. They are rich, chewy, chocolate-packed, and loaded with that unmistakable wafer crunch that makes every bite more fun.
Whenever I need an easy dessert that feels special without being fussy, this is one of the first recipes I think of. Once you slice into that fudgy center and see those Kit Kat layers tucked inside, it is hard not to reach for another square.
Print Kit Kat Brownies
- Total Time: 50 minutes
- Yield: 9 brownies
- Diet: Vegetarian
Description
These Kit Kat Brownies are a rich, fudgy dessert packed with crispy wafer candy bars and deep chocolate flavor. They are an easy recipe for parties, dessert boards, sweet snack cravings, and fun food ideas when you want a quick brownie treat that feels extra special.
Ingredients
1 cup unsalted butter, melted
1 cup granulated sugar
1/2 cup brown sugar
3 large eggs
2 teaspoons vanilla extract
3/4 cup unsweetened cocoa powder
3/4 cup all-purpose flour
1/2 teaspoon salt
1 cup semi-sweet chocolate chips
8 full-size Kit Kat bars, chopped
Instructions
1. Preheat the oven to 350°F and line an 8×8-inch baking pan with parchment paper.
2. In a large bowl, whisk together the melted butter, granulated sugar, and brown sugar until glossy.
3. Add the eggs and vanilla extract, then whisk until smooth.
4. Stir in the cocoa powder, flour, and salt just until combined.
5. Fold in the chocolate chips and most of the chopped Kit Kat bars, saving a few pieces for the top.
6. Spread the batter evenly into the prepared pan and press the remaining Kit Kat pieces over the top.
7. Bake for 30 to 35 minutes, until the edges are set and the center is slightly soft.
8. Let the brownies cool completely before slicing and serving.
Notes
Do not overbake the brownies, or they will lose that soft fudgy center that makes them so good.
- Prep Time: 15 minutes
- Cook Time: 35 minutes
- Category: Dessert
- Method: Baking
- Cuisine: American
Nutrition
- Serving Size: 1 brownie
- Calories: 410
- Sugar: 33g
- Sodium: 180mg
- Fat: 24g
- Saturated Fat: 14g
- Unsaturated Fat: 8g
- Trans Fat: 0.5g
- Carbohydrates: 49g
- Fiber: 3g
- Protein: 5g
- Cholesterol: 95mg
Keywords: kit kat brownies, fudgy brownies, easy brownie recipe, chocolate dessert, dessert bars, party dessert, brownie recipe, candy brownies